We’re here to inspire you to create the most stunning flat-lays which won’t look fake. You’re probably seeing flat-lay photography on Instagram feeds daily. But how to capture that magic winter feeling of cozy blankets, hot chocolate and lazy vibes. Even though it sounds pretty easy, creating an interesting image can be frustrating.
The hard part of creating a flat-lay is how to make it interesting, staged but not fake, and to create depth on a flat surface. Next up to focus on: object arrangement, layering, color, and texture, master lightning.
This is how we did it, in 10 steps.
01 - Story
You have to ask yourself what vibe you want to achieve? What is the message you’re wanting to portray. The goal is to capture the feeling in one photograph. A lazy Sunday would look completely diffent then modern gear and minimalism. So figure out first: What story do I want to tell.
Don’t try to tell 5 stories all at once and write down the key-words before getting started to keep your goal in mind.
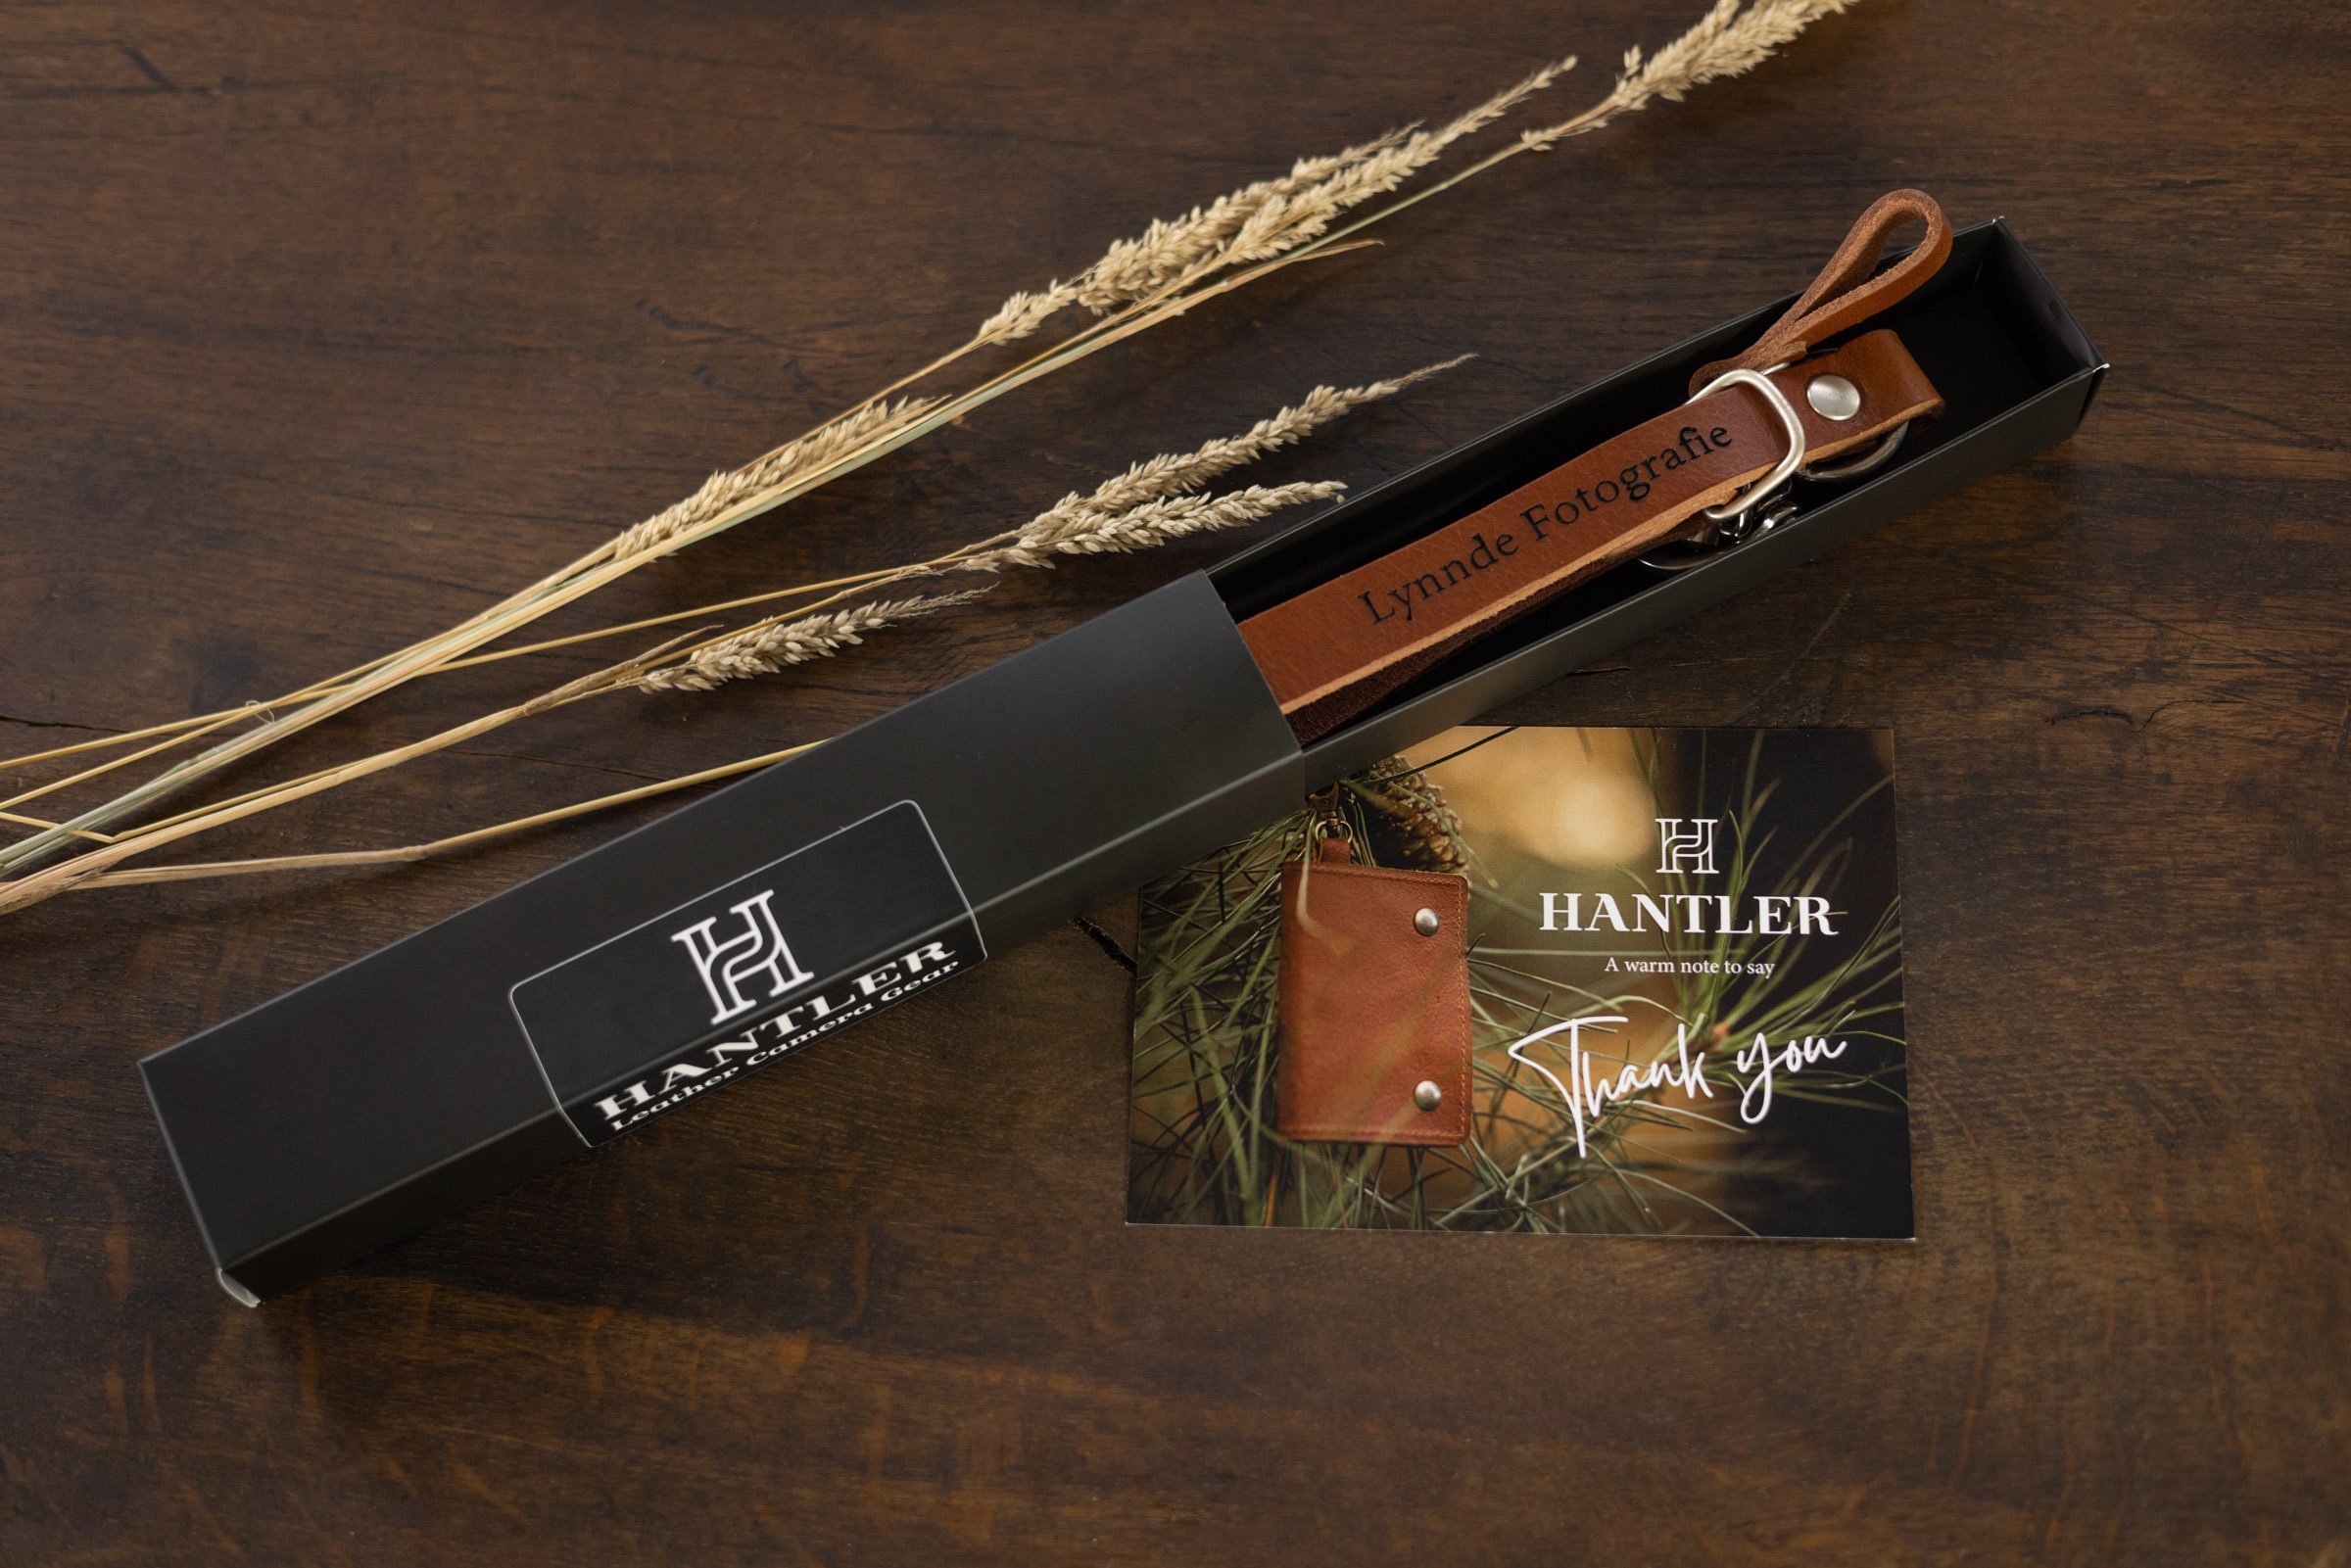
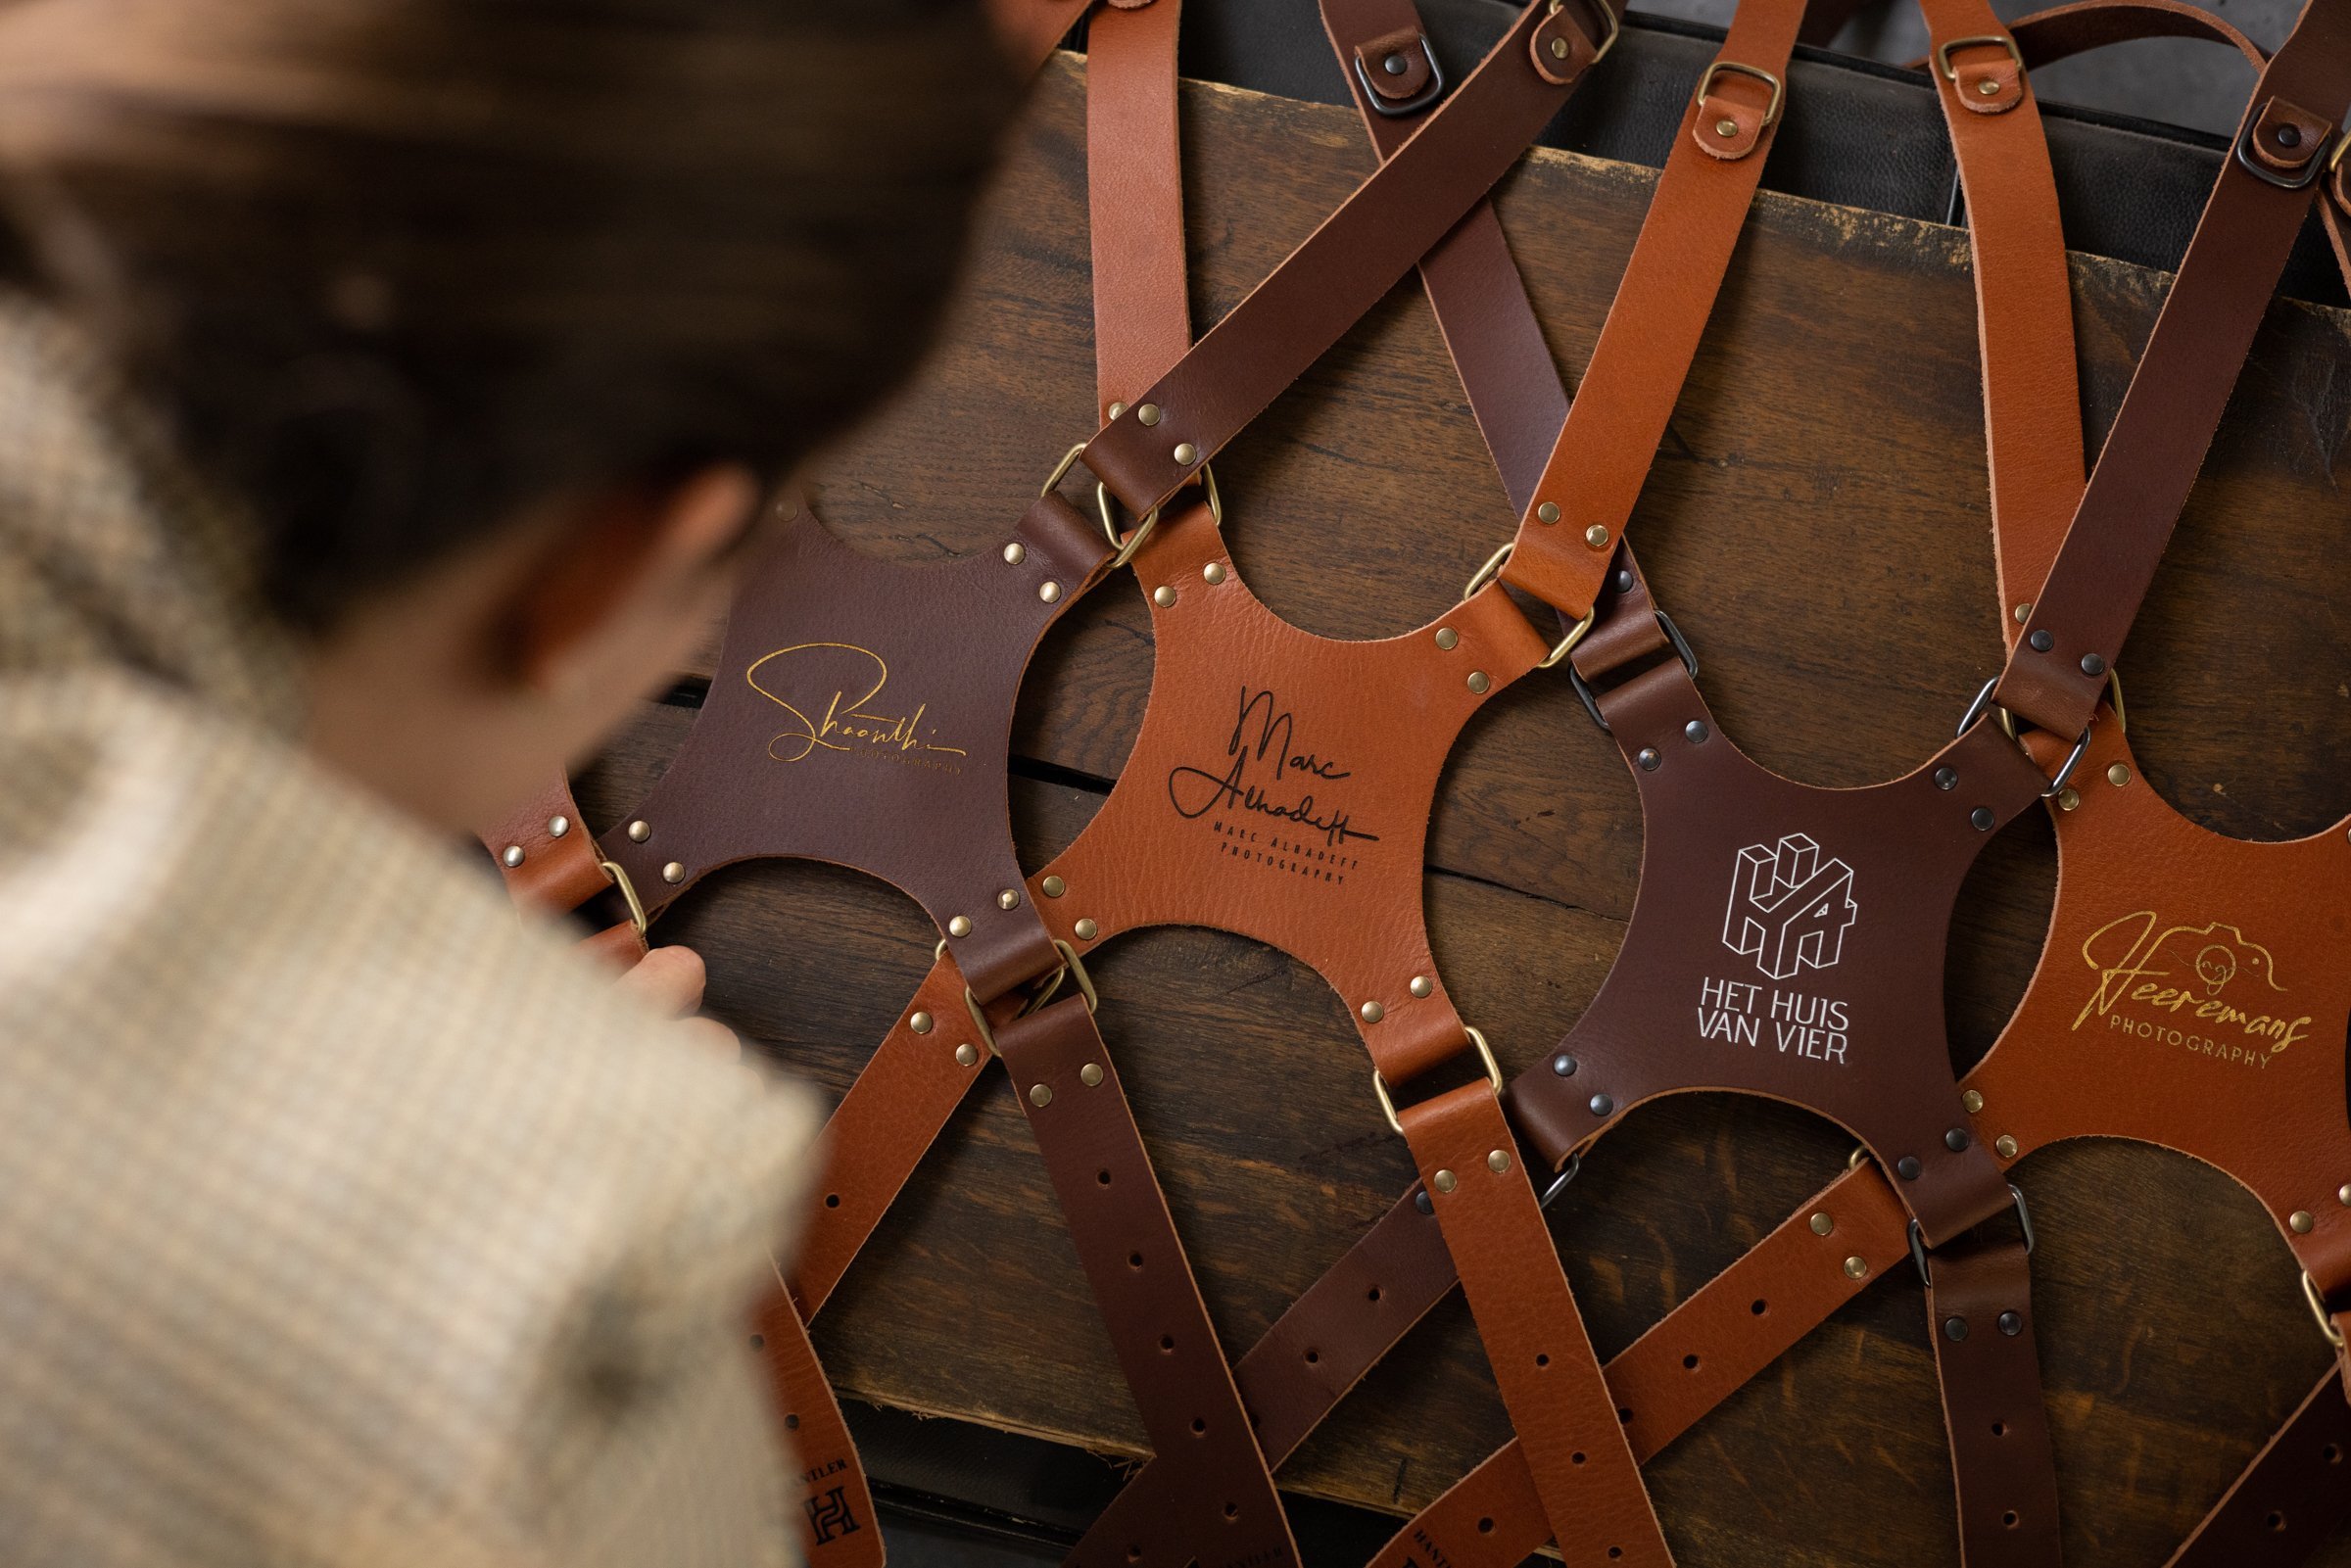
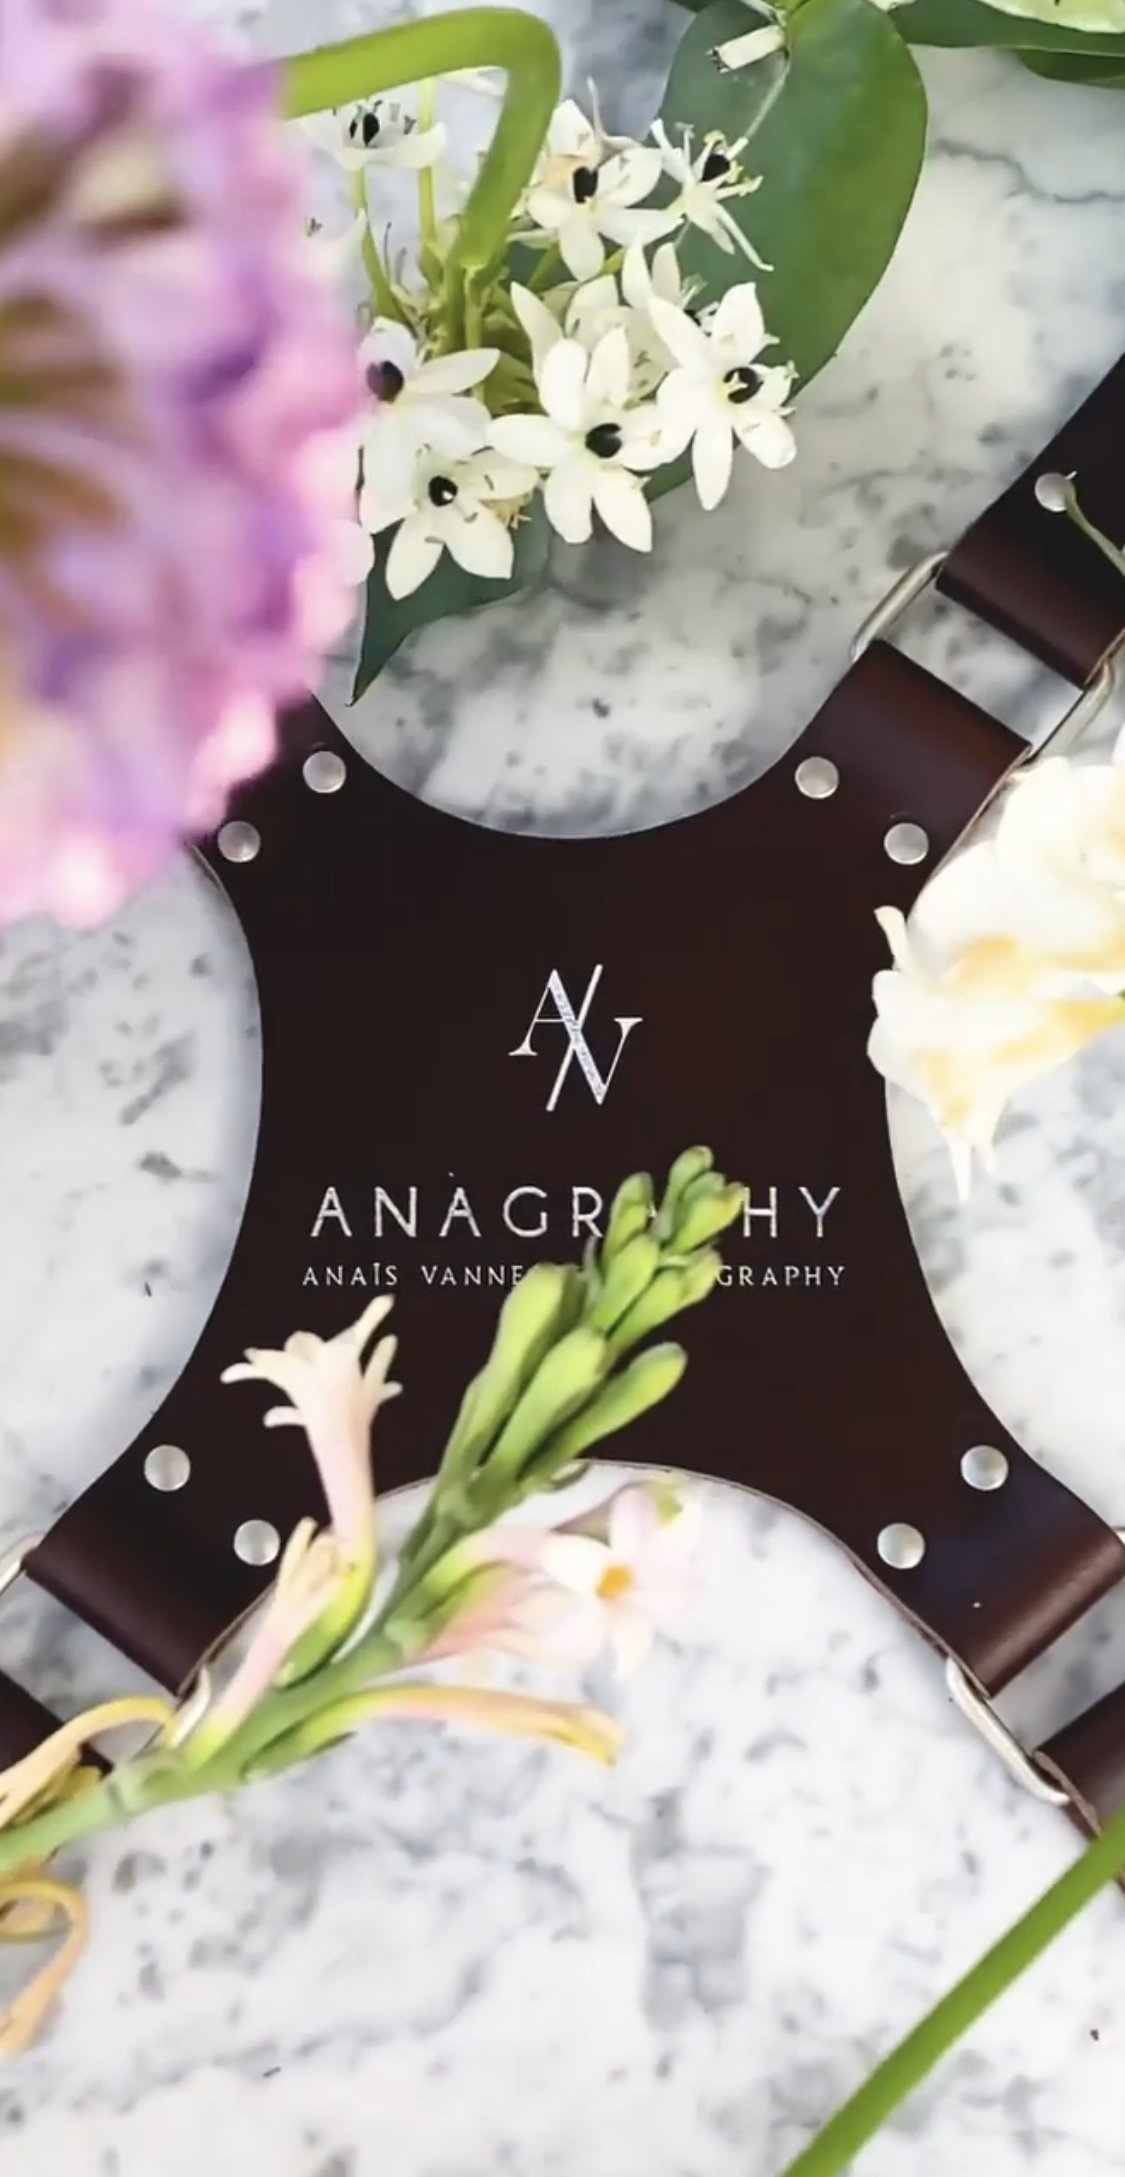
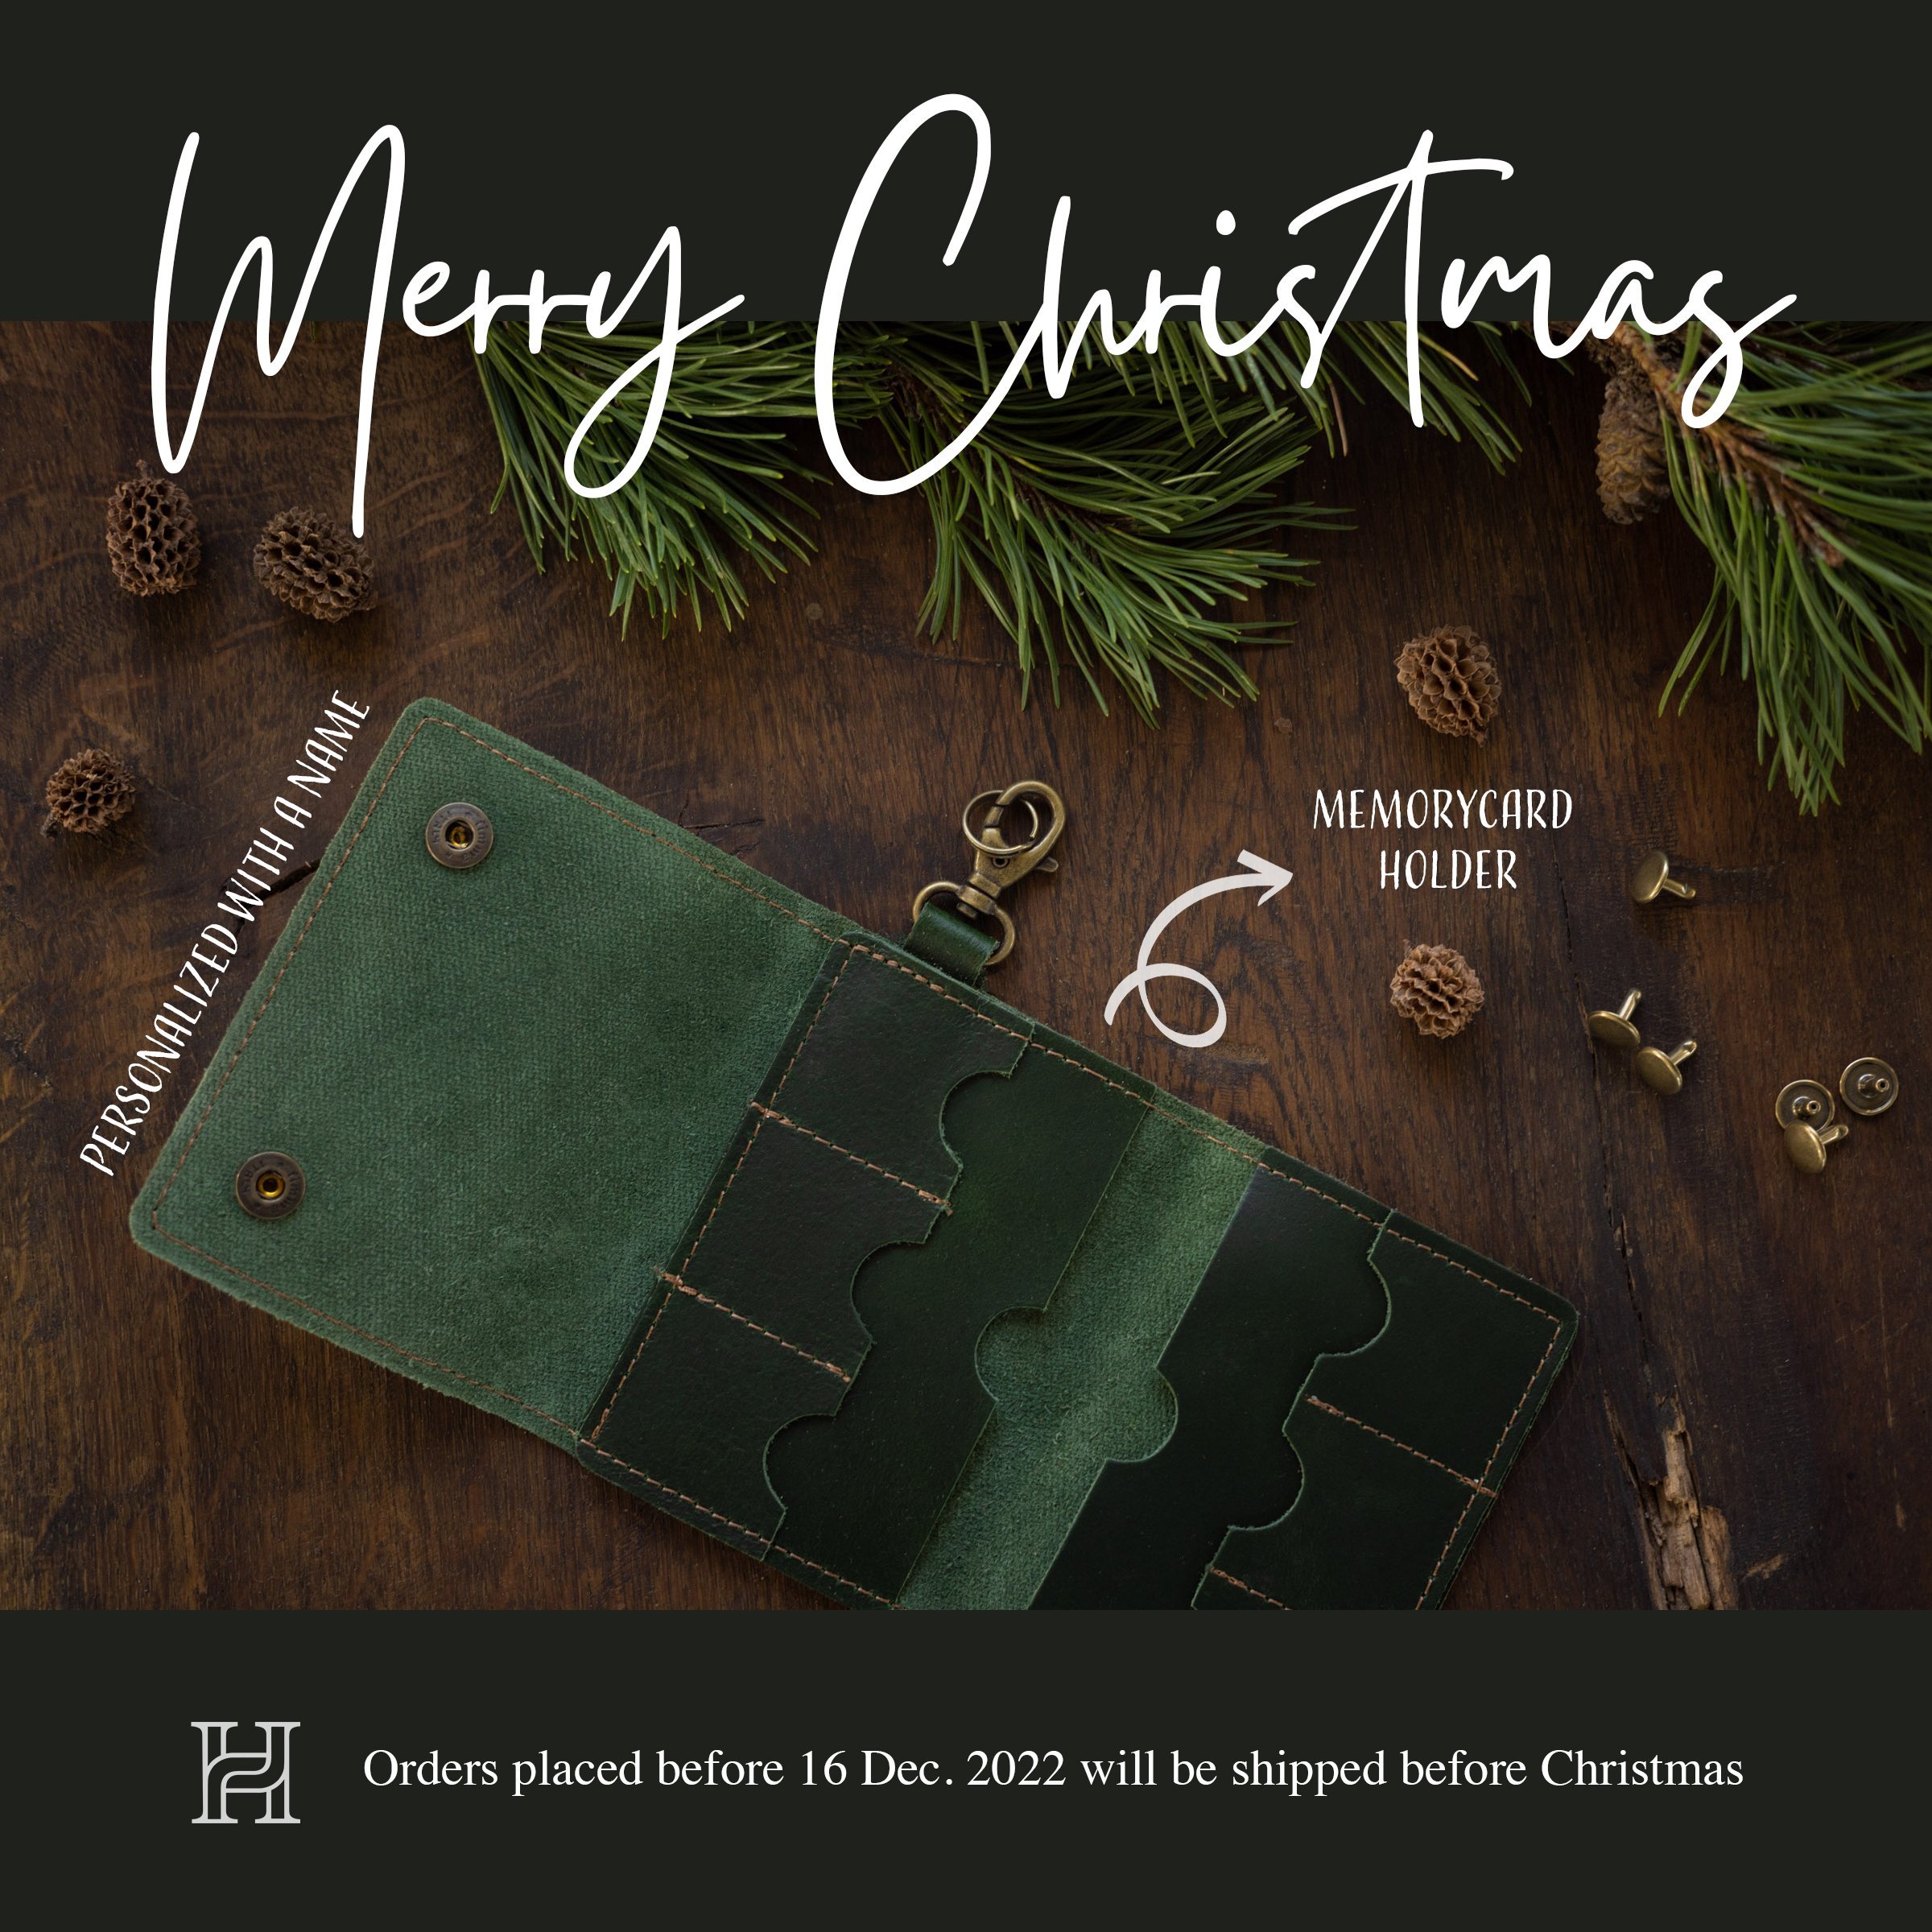
In our case the main object is our memory-card holder. The story is about the hand-made leather memory-card holder. The message we want to send out is: It’s hand-crafted and made locally, it’s luxurious and with that a great Christmas gift.
02 - Select the back ground for your flat-lay
as the name already mentions everything can be a flat-lay as long if the service is flat. Think of Dining or coffee tables, your bed, the floor, a board, the couche etc. Just have a walk around your house to look for flat surfaces and keep in mind if the color and texture would fit your story.
Sometimes it helps if the surface has texture. But keep in mind to keep it simple to avoid getting the attention on the wrong object. You want the attention going to the products that are placed on top of the suface even though the background itself is importuned and mood setting.
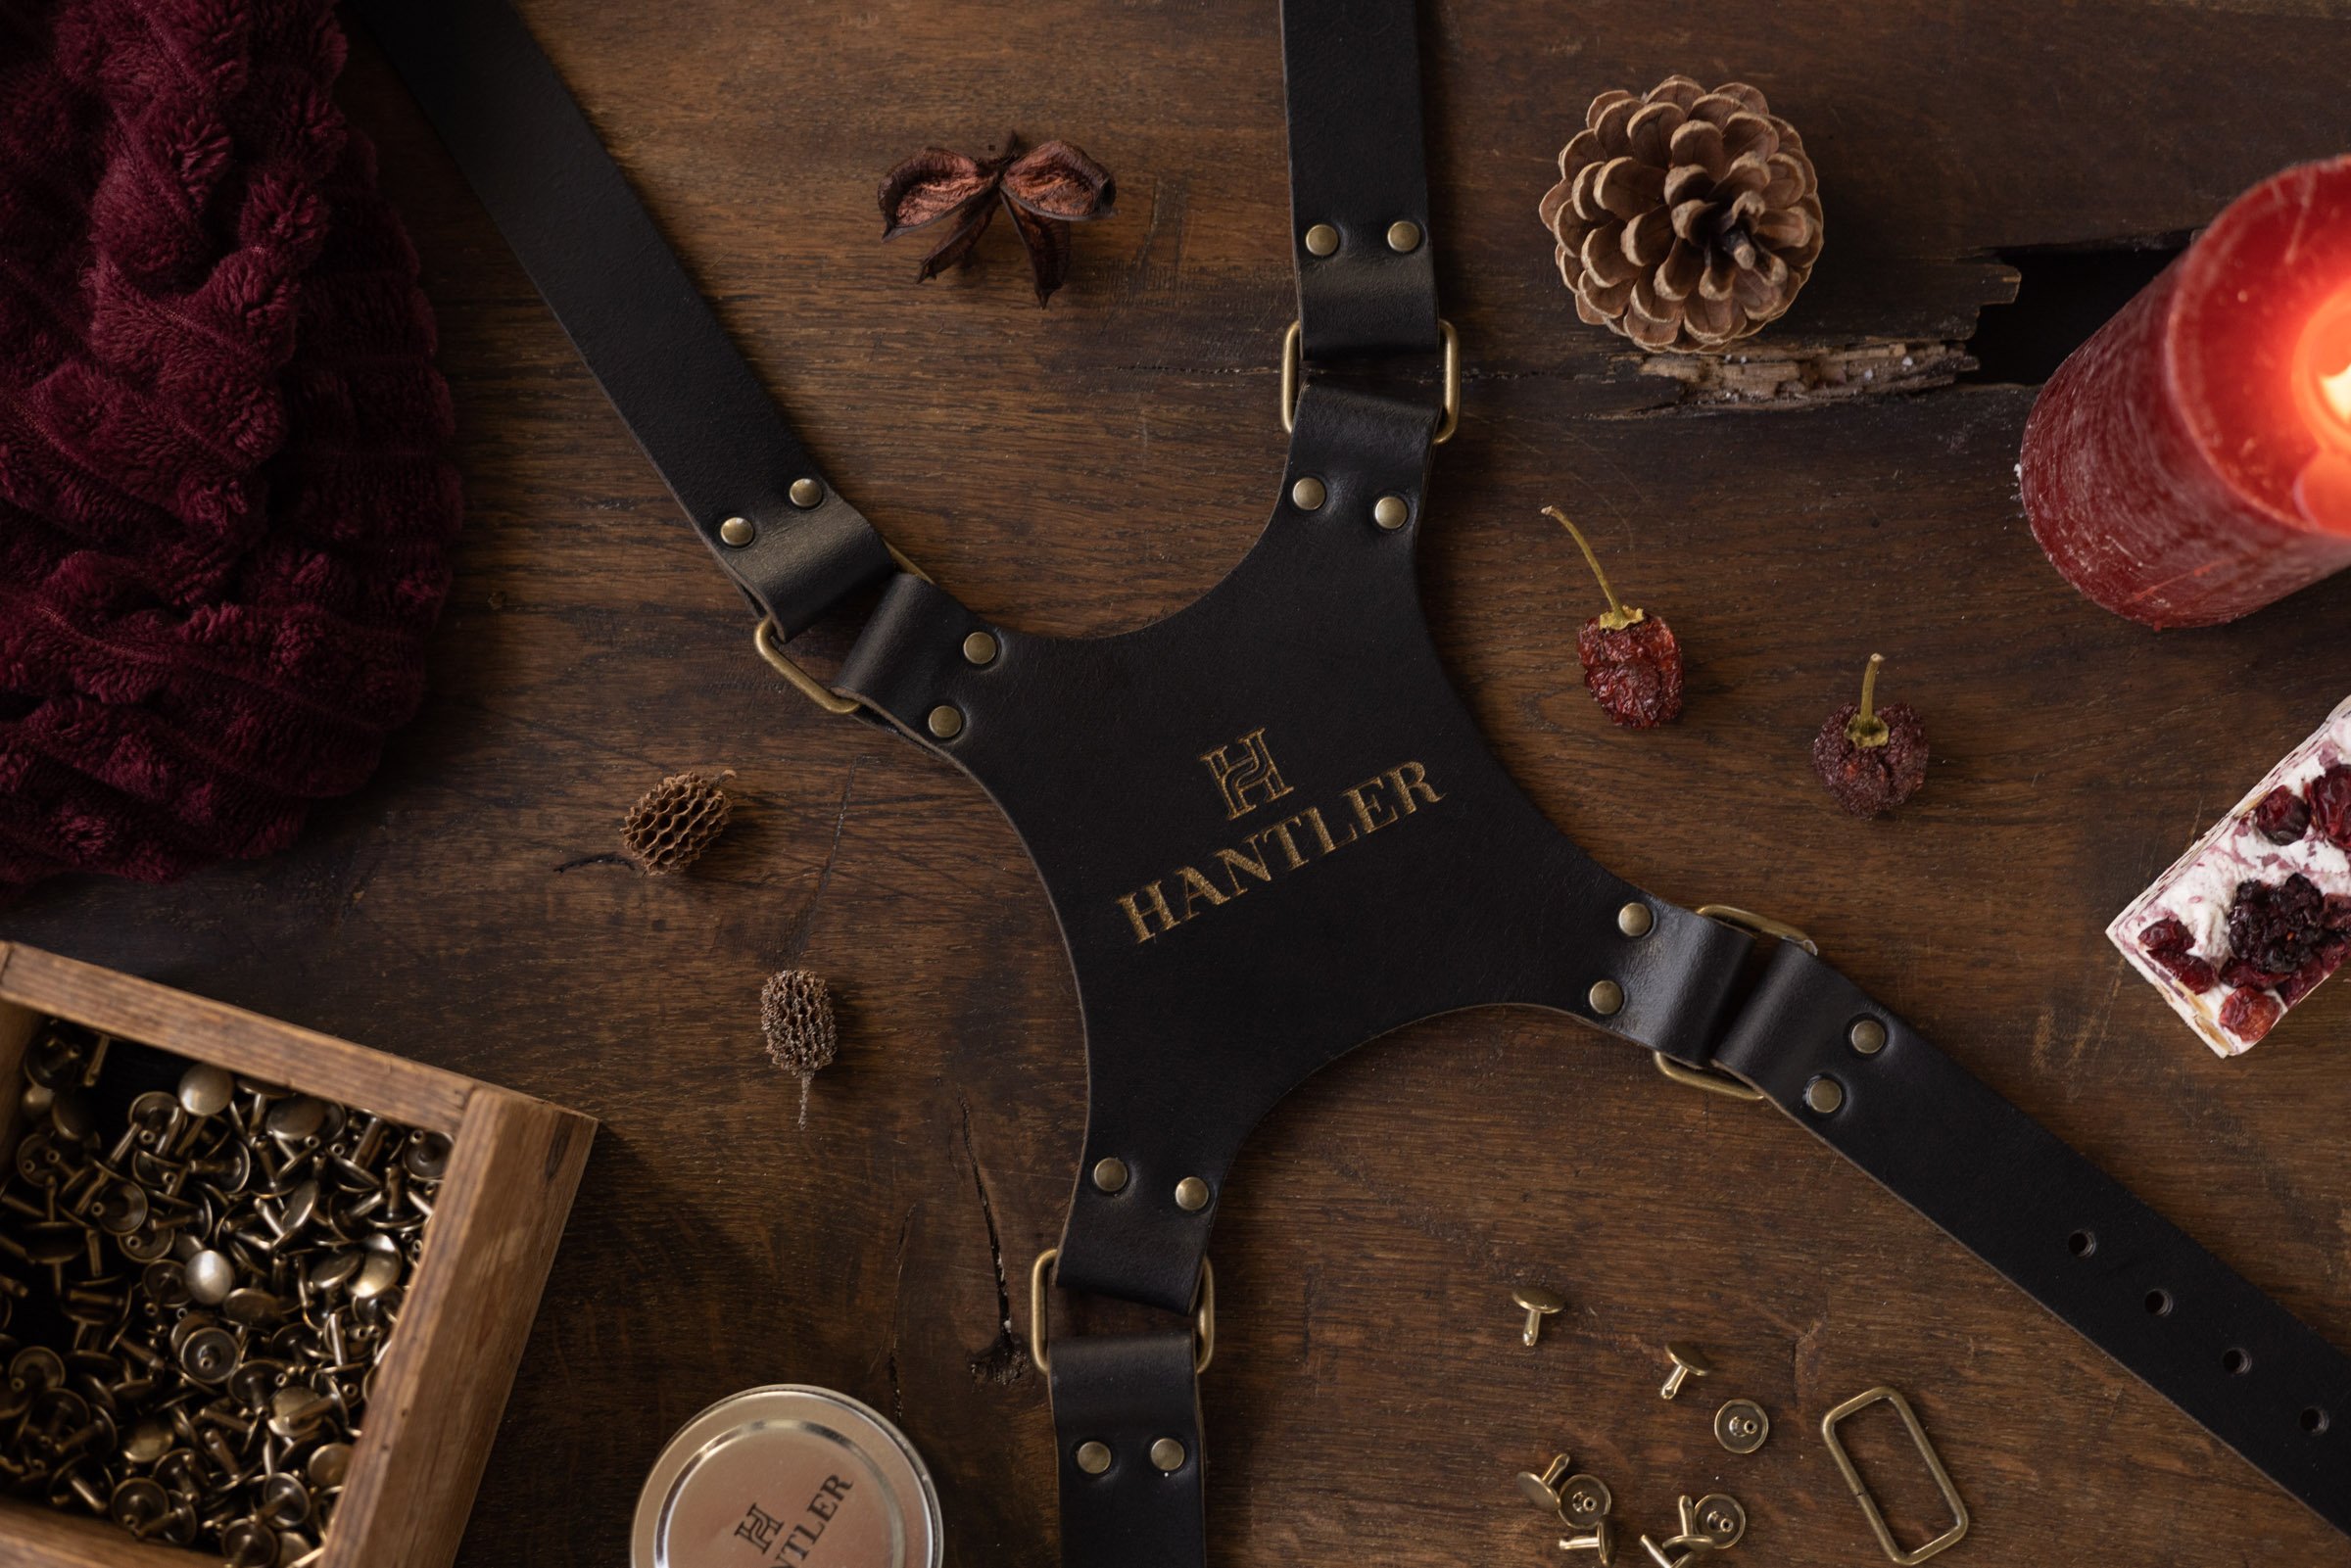
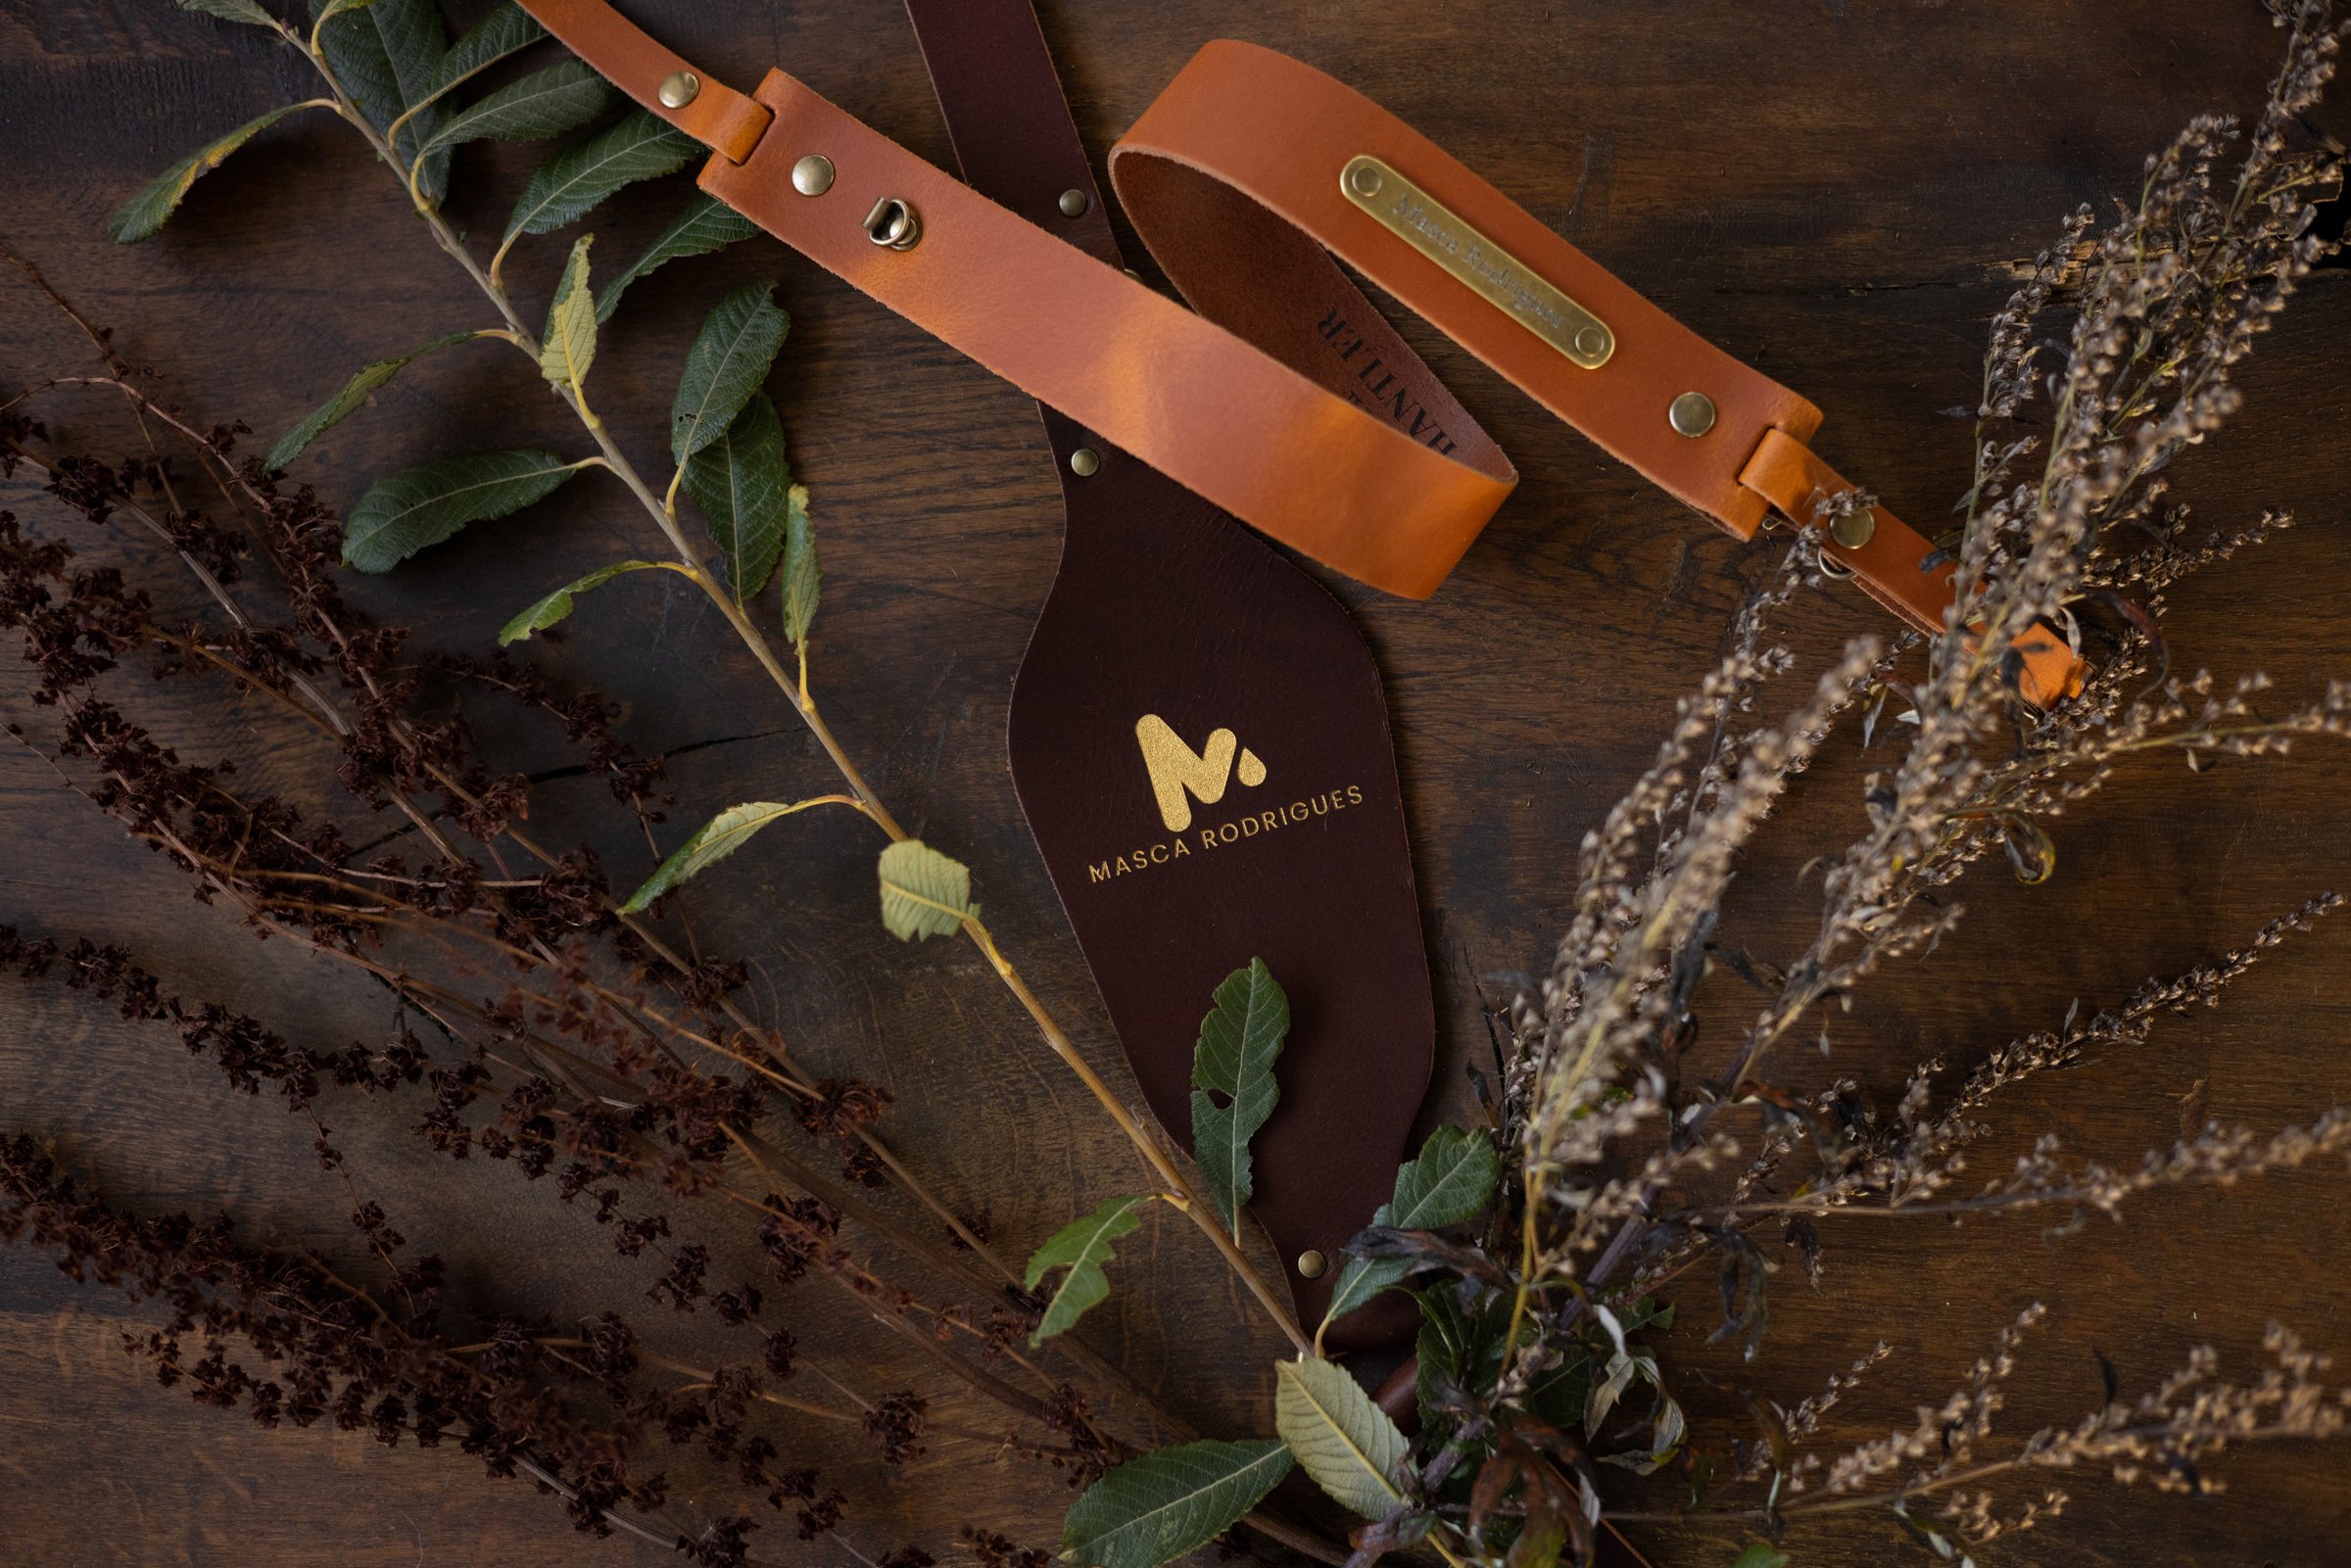
Our personal favorite flat-lay surface is our hardwood oak board. We’ve stained it to give it that old craft feel. Want to know how we made this one? You can watch the video here.
03 - The product
Think of it as if you would tell a story around the product. What would be the subject of that story? For instance, is it the story the recipe of the apple pie you made? Then the pie is your main object and the recipe and ingredients are the more detailed props. In our case the main object is the memory-card holder.
04 - the props for your flat-lay
Before you go out shopping to get that one candle in every color possible, start by shopping in your own living room. Go on a tour with your key-words in mind (step 1) and gather, select everything that gives you the same vibes you are going for.
Think In color and texture and bring it to your staged flat-lay. You don’t have to use everything. But having a choice is going to help you while experimenting and playing around later (step10).
There are some stereo-type props that can really help you capture that essential winter scenery. In our case we did go out to buy some things.
This was our winter shopping list:
– Dried orange slices – Christmas branches – Some pine apples
We often look for props which we can combine on other flat-lay themes as well. Choosing items that are reusable is good thing to keep in mind.
04 - Arrangement
A great flat-lay shows the dynamic of it’s objects. Sometimes it helps when it looks like the object just has been used for example. Like they are just been put down, still showing some signs of usage.
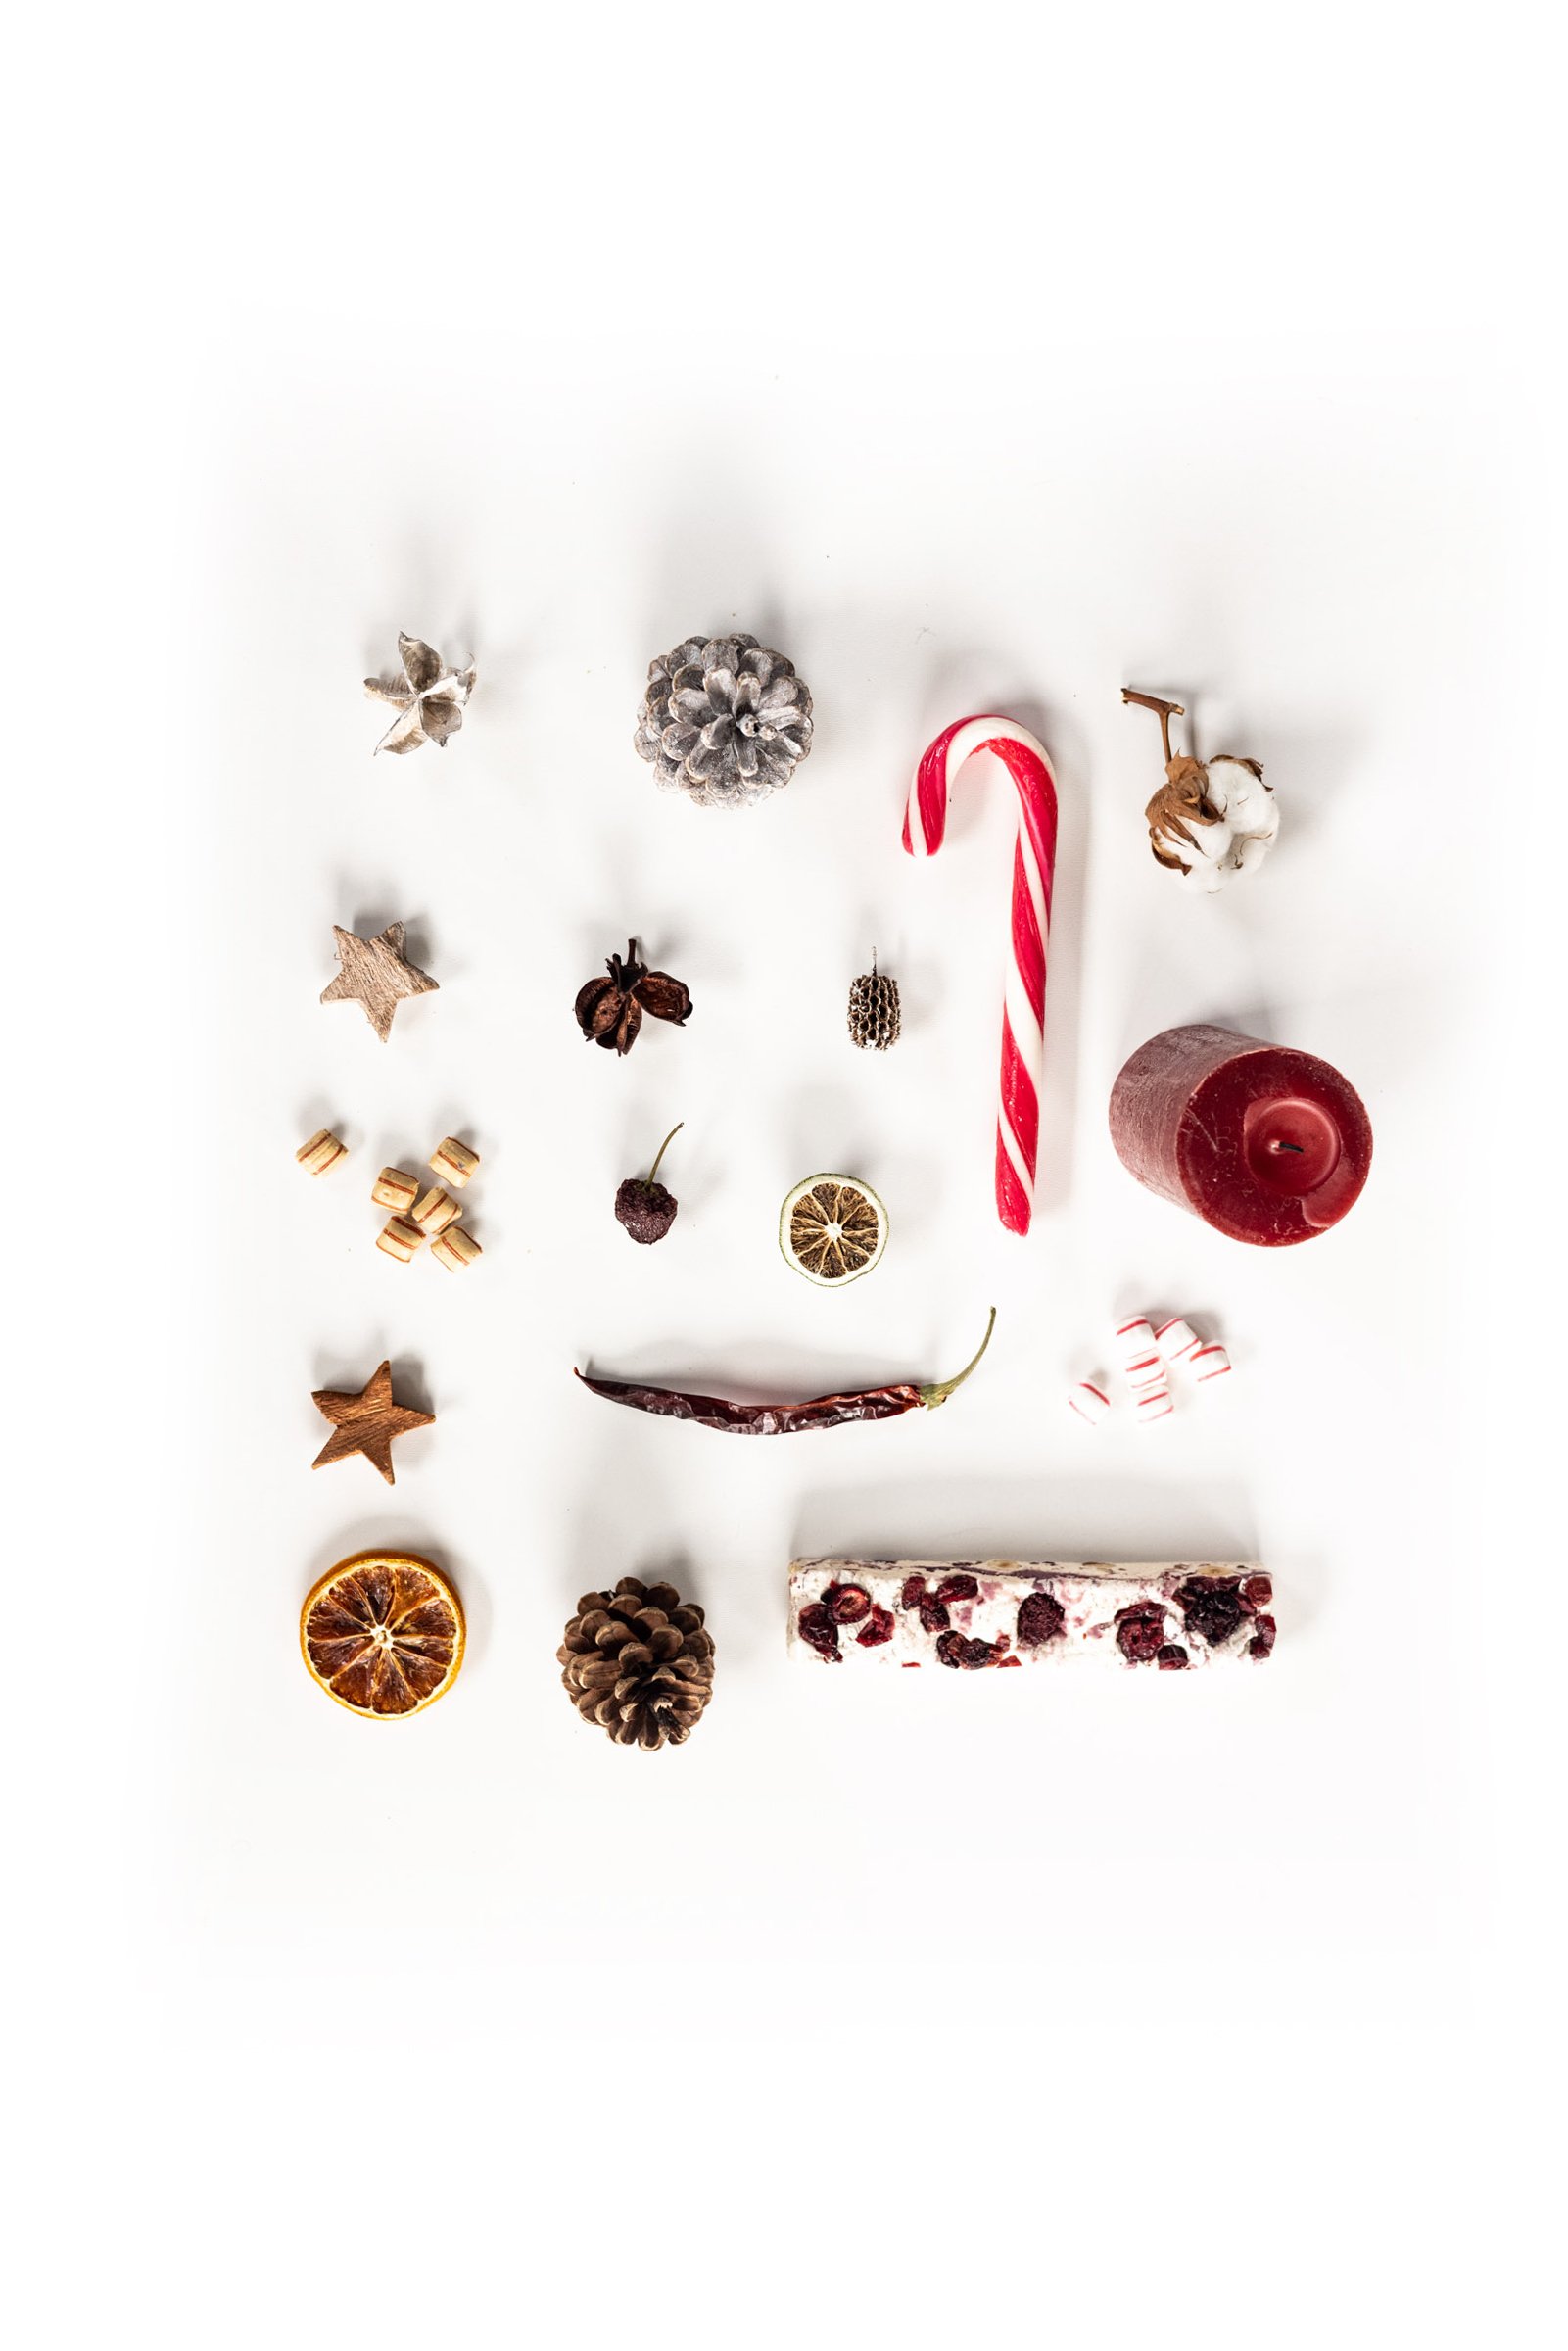
Rather than placing all of your objects in the center of the shot with empty space around it, arrange your objects in a way that it peaks out on the border of the frame. This will also create a little illusion and engages the viewer to imagine beyond the frame.
Patterns: If you don’t have just one object but multiple, you could play with making patterns, or stage them randomly. Just play a little with it to see what works.
06 - Playing with color
First you have to ask yourself what color you would like to show? Once you have an idea in mind you can build your color pallet around that. Stick to only a few harmonious colors The whole essence of a flat-lay is to make it look balanced.
If you have a branding style for your business or you often use specific colors on your feed than that is a great way to start selecting colors as well. If you find the color hard to combine with other colors you can always use the same colors but in a lower density or neutral colors to make the item pop.
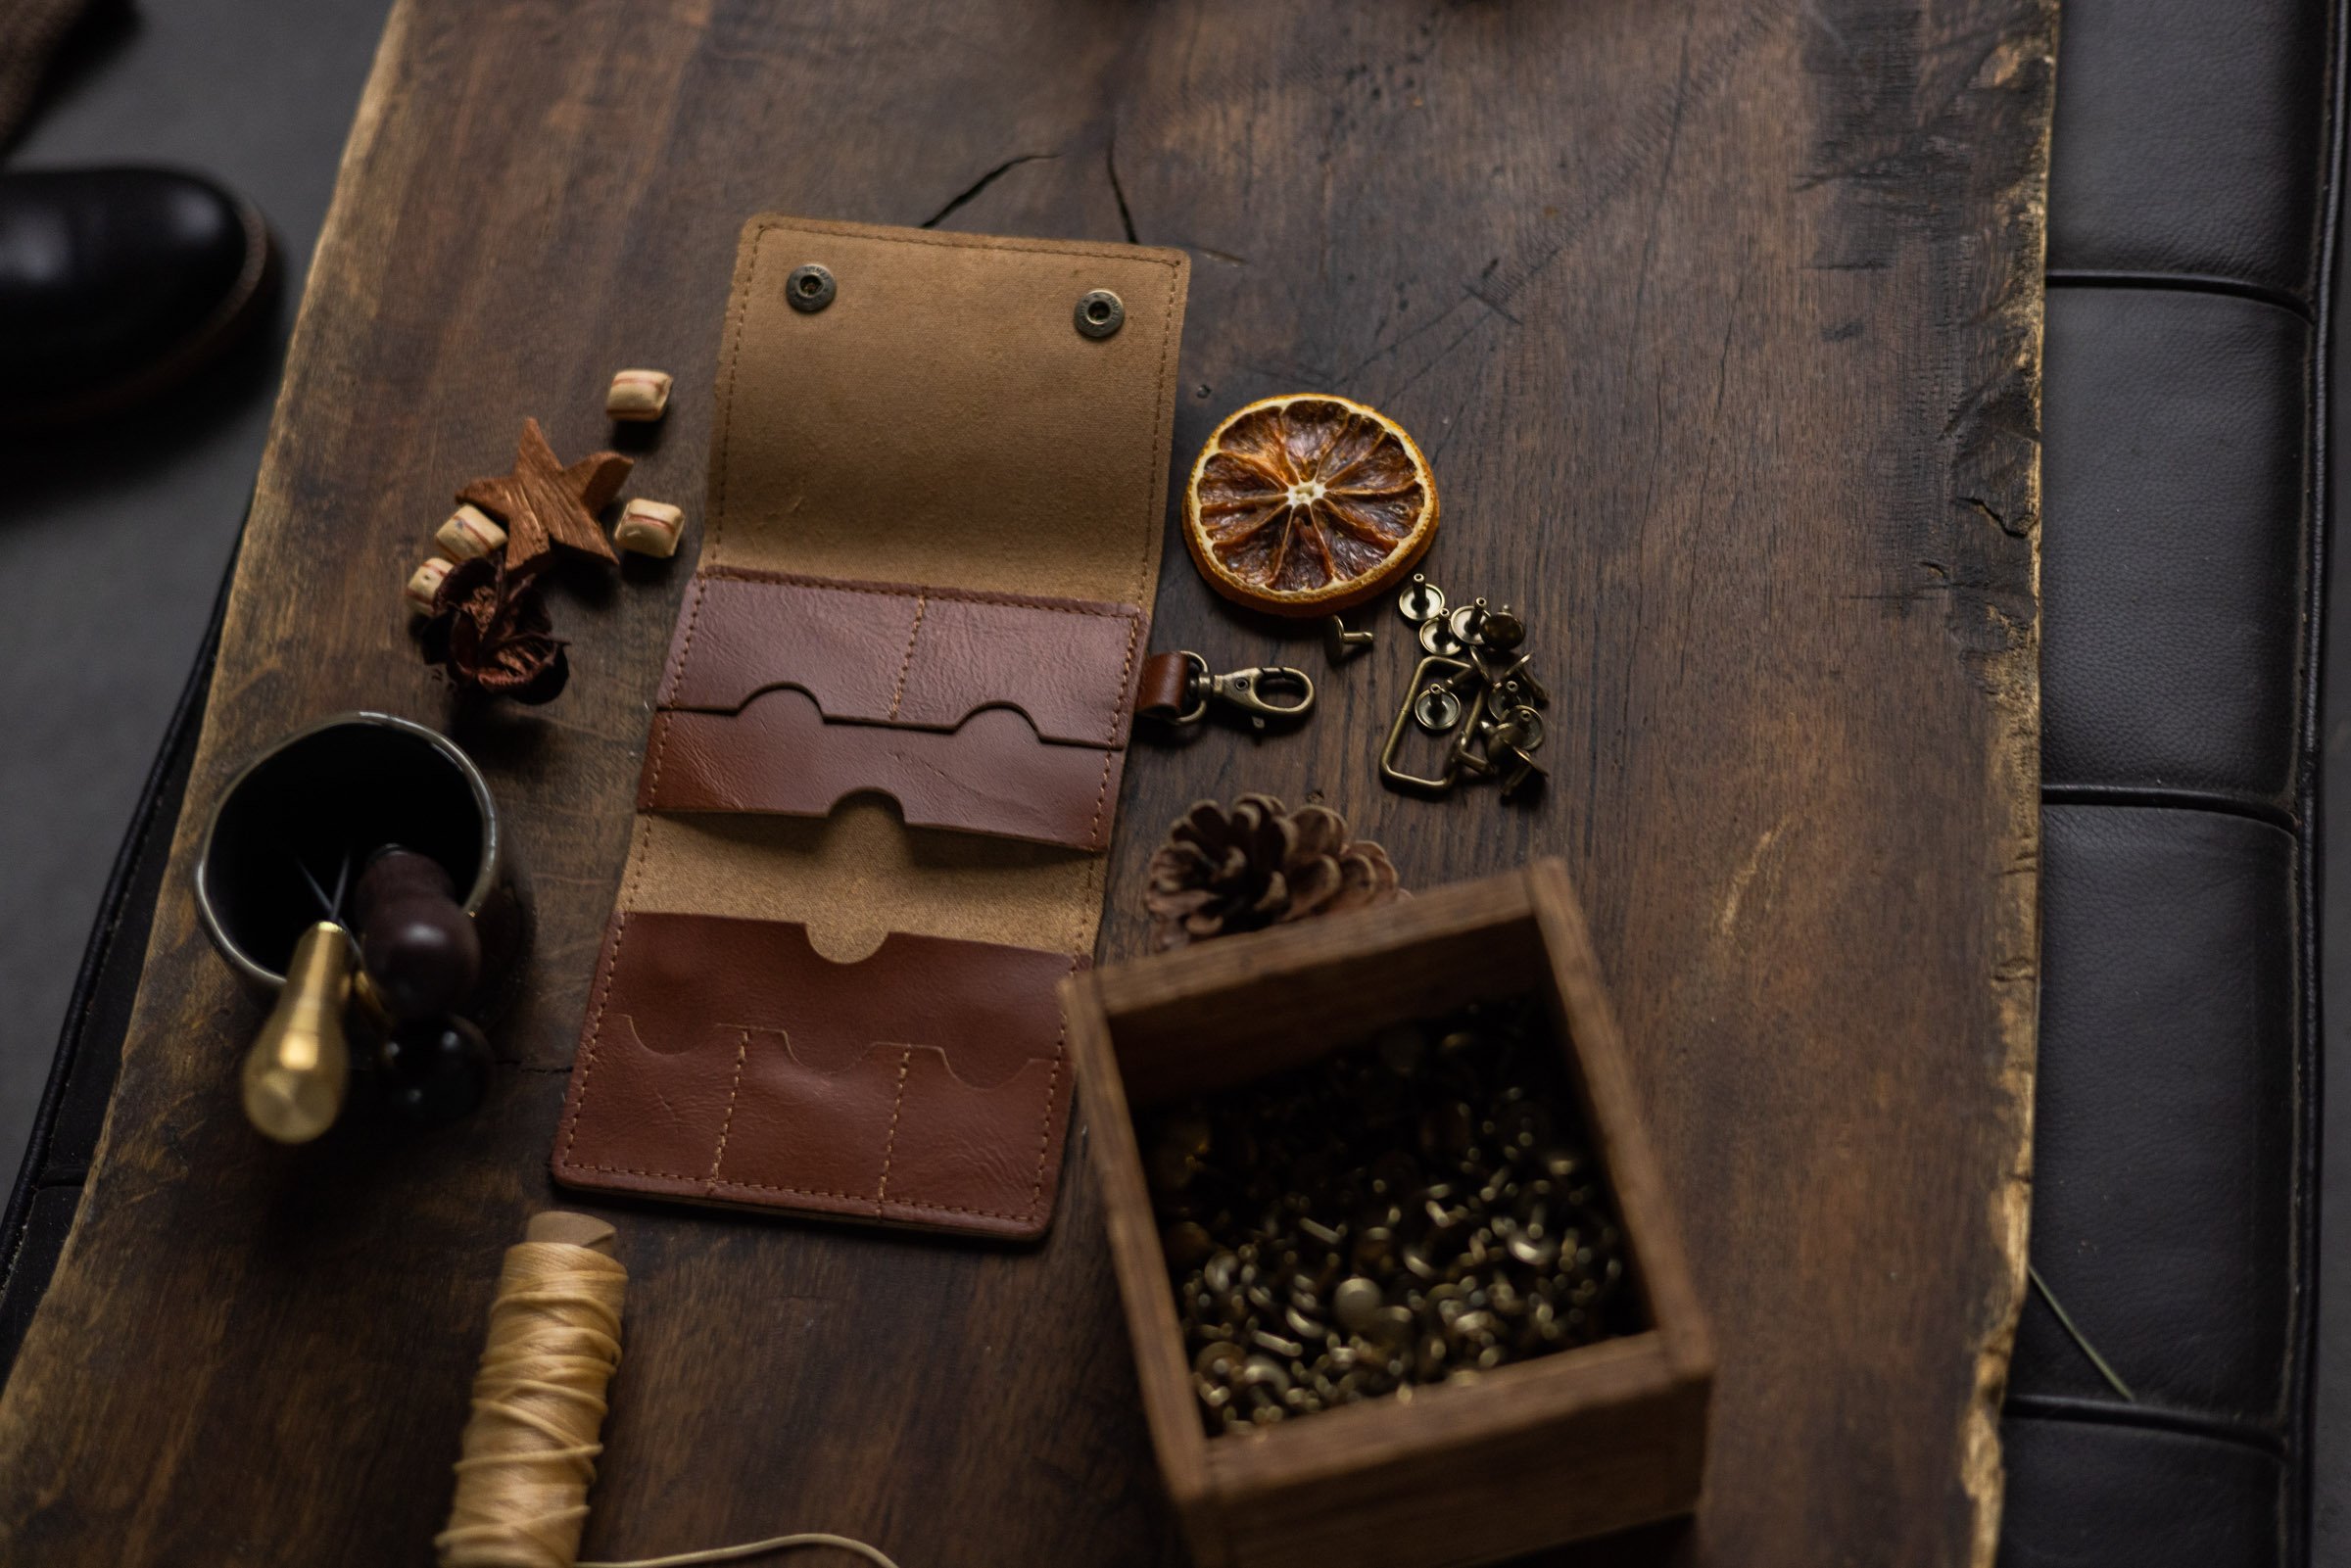
07 - Layering it all out
Layering is a great way to create an interesting image and add depth to your photo. You can create different textures that help you create the mood you want to go for.
Adding textures such as knitted scarfs, blankets, crinkled paper or flowers can add intrest to the object.
While working with layering you can work with a nice shallow depth of field as well to get more depth and lead the eye to the main subject without using a whole lot of props. Because of the blurry props/flowers/branches you can fill quite a bit of blank space without using a whole lot of items distracting from the main object.
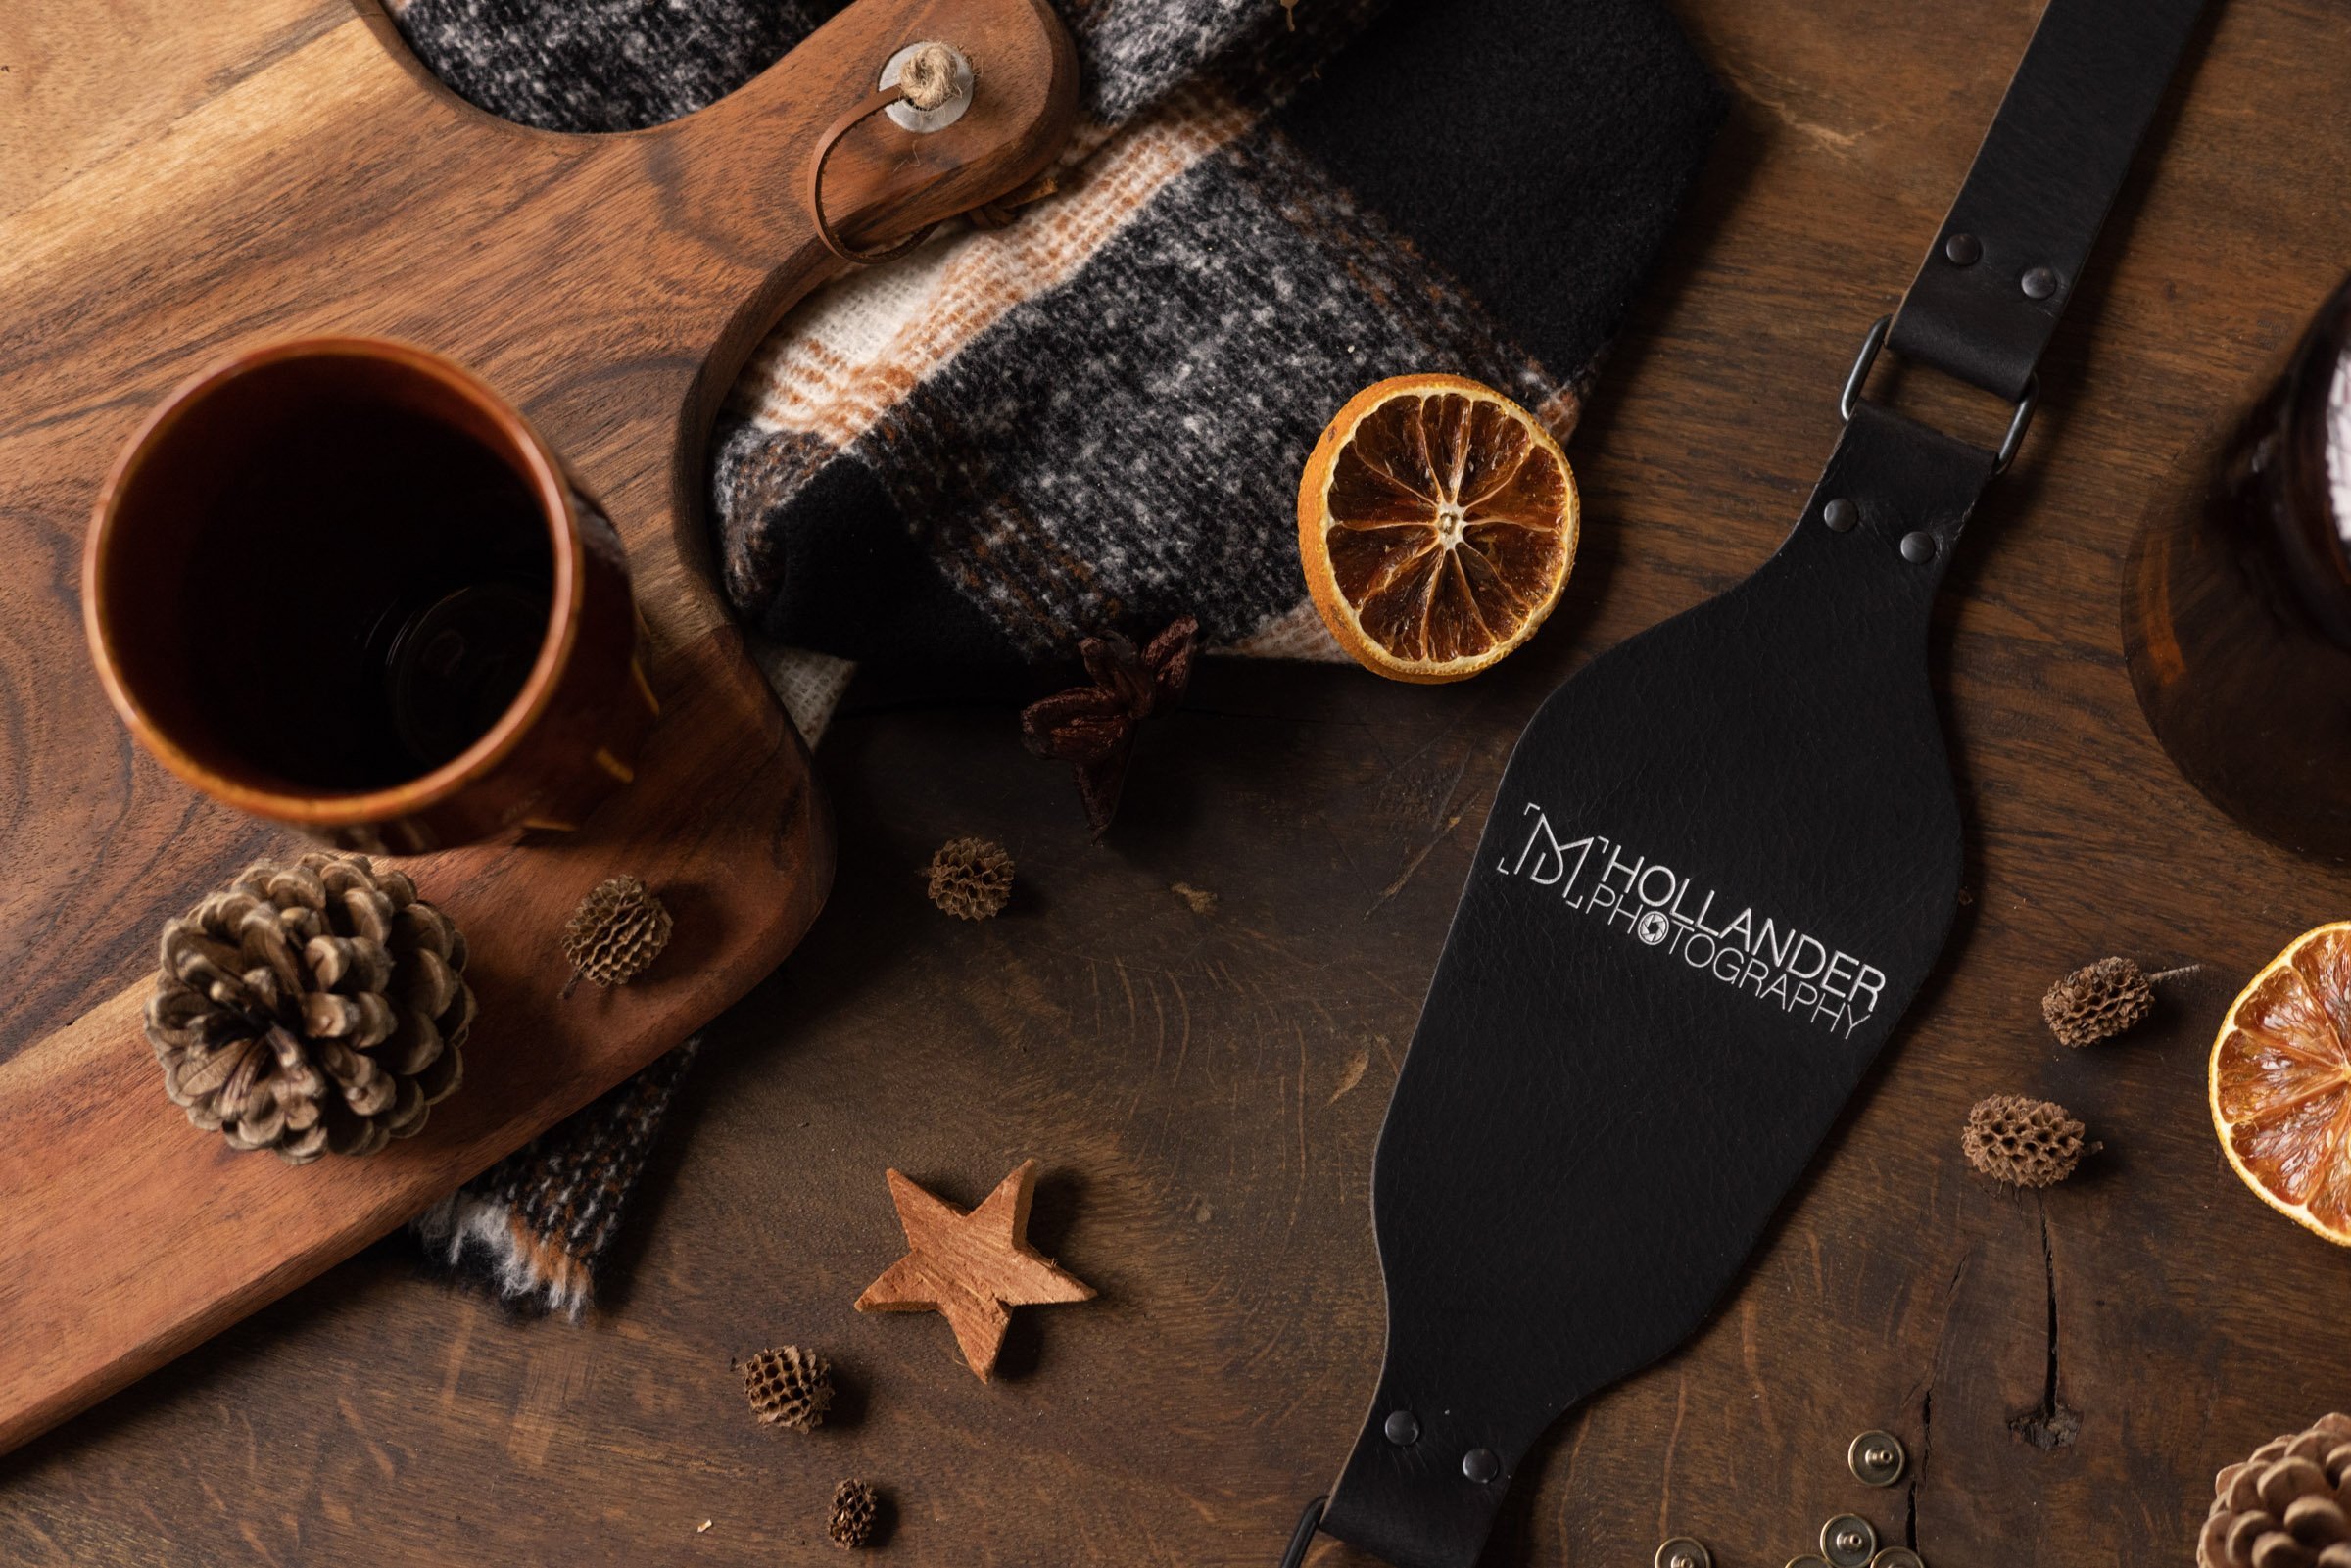
08 - Lighting can set the mood
You as a photographer ofcourse understands that light is one of the most important aspects of setting the mood. A fresh and healthy smoothie can look disgusting in dark and moody light while a luxurious thick creamy chocolate bar with coffee would probably do great.
Look back at the three words you wrote down in the beginning. The story you want to tell, what’s the mood you want to set?
The easiest way to work is to build your flatly next to a window. This way you have enough natural light which you can control with your settings or by moving the flat-lay closer or further from the window. Rim or grazing light will help you to create some depth and dimension onto your flat-service.
Don’t use a lamp straight above your created flat-lay surface because this would do the opposite and will make everything flat. Keep in mind that the object that hits the most light would get the most attention. So make sure that that is the object you are telling the story about.
09 - Room for text and graphics
Tip: We always take a few extra photos with some extra open negative space. These photos are useful to have if you want to communicate something with your customers in the future. think of a promotion, a new product, an event or a giveaway.
It is important that you take into account that the text must be legible and for that the background can’t be too busy.
10 - Just give it a go and play around
The last and most important thing is to try and play around. Try out some different things. Move the objects around, twirl them around and adjust where needed. Most of the time the first composition isn’t goona be the best one. We have a cabinet of different props in our office. Change up some colors, leave something out or add something new. Get a bit higher on your stool to give the frame a bit more space or zoom in really close. You’ll get there!
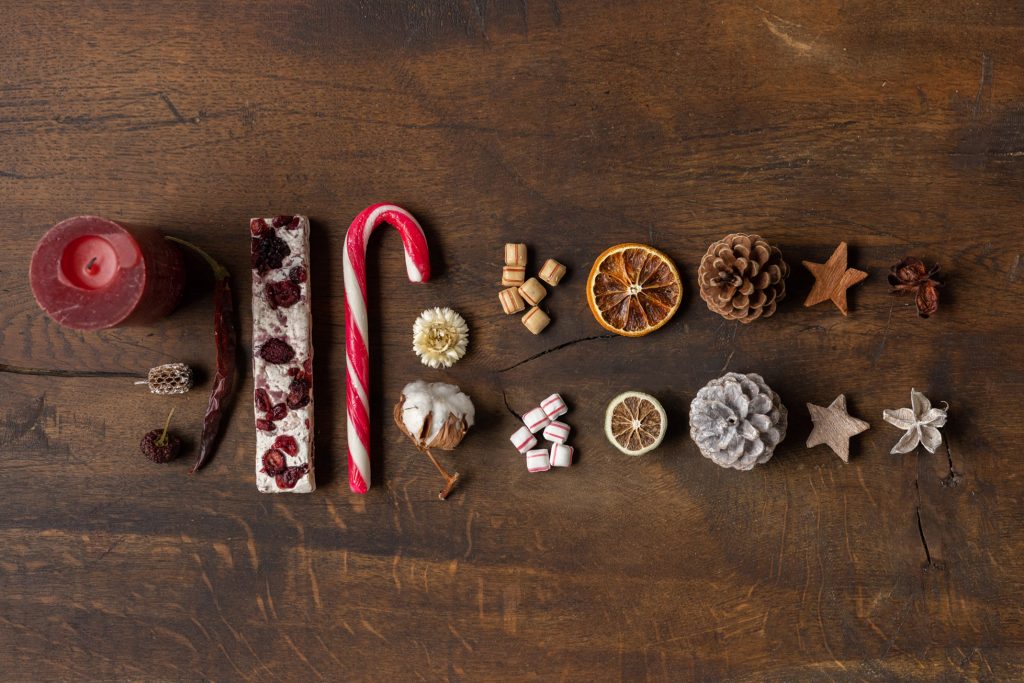
Props for a winter theme
Photo Props
To capture the perfect holiday spirit you gotta have the classics! All this stuff is off course available online, but we didn’t want to order everything separately in different webshops. So we went over to a garden centre nearby. They had almost all the stuff we wanted except the cinnamon sticks.
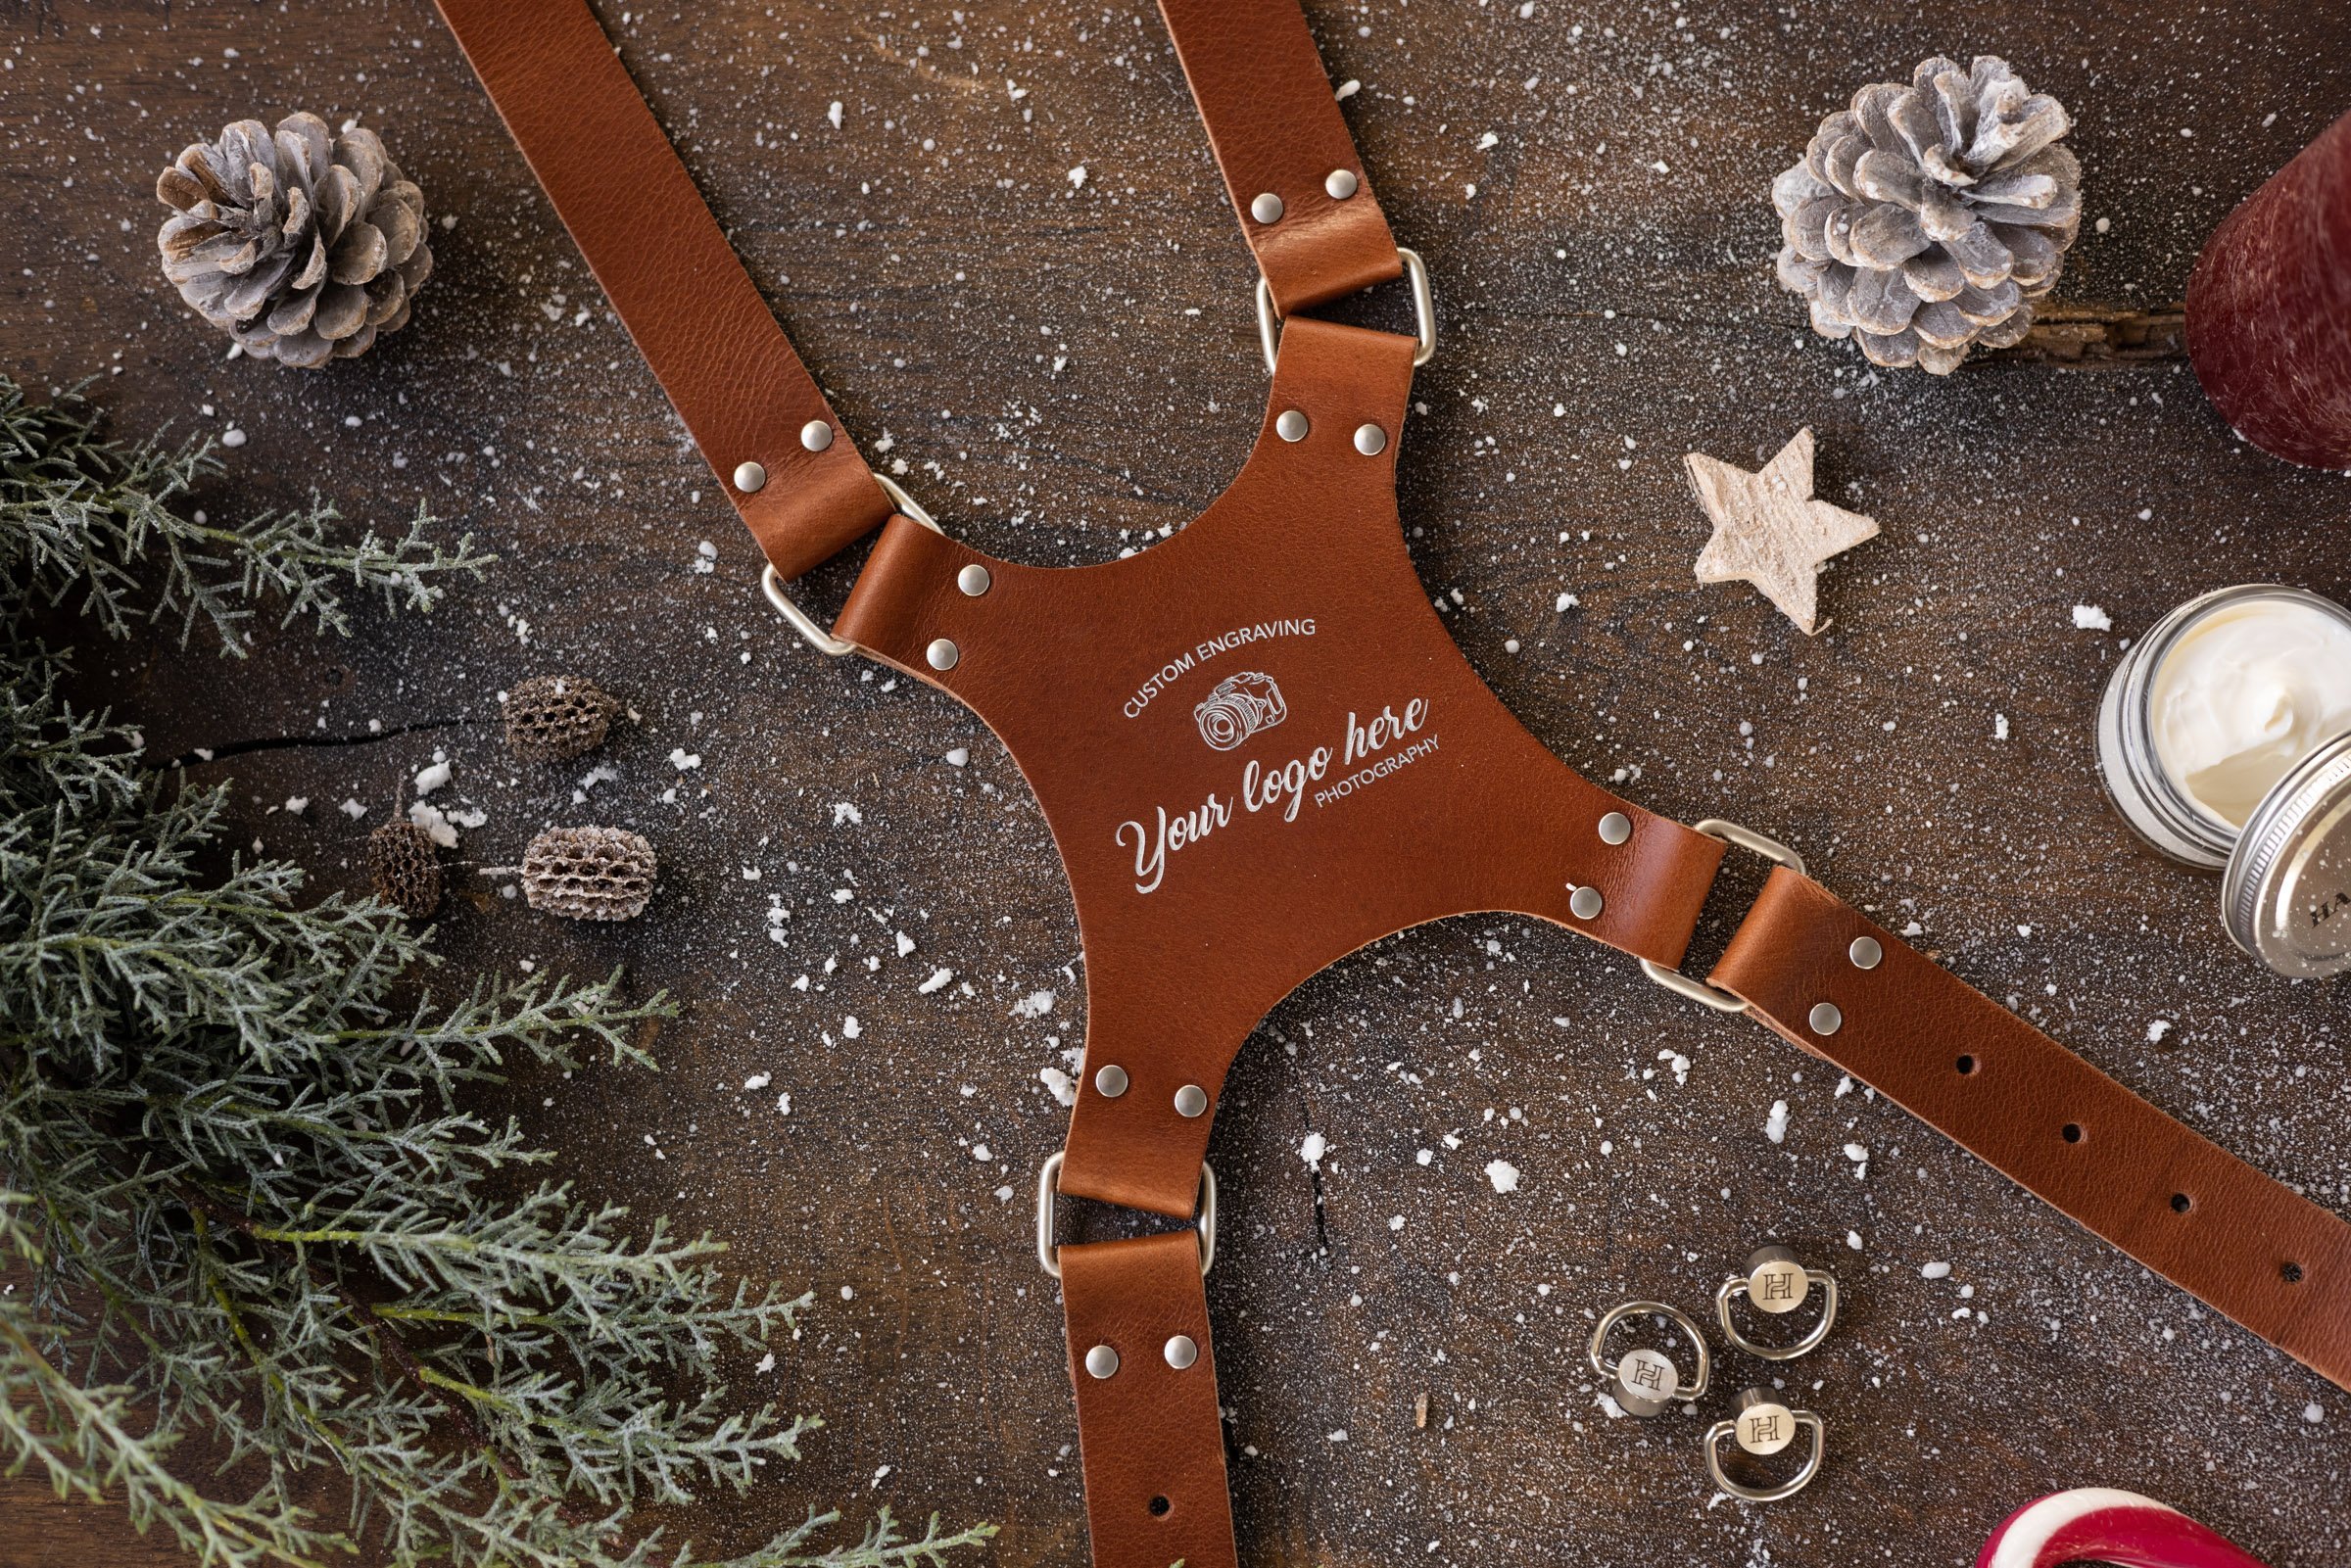
Special effects.
Let is snow, let it snow, let it snow. We used fake snow te create some extra winter experience. Now this is a tricky product to use. We really recommend to try this first on a piece of cardboard so that you get the feeling of how thick you should lay it on. Also if you have a product that is very sensitive to water then don’t use it. All our leather is protected with a waterproof coating making it able to sustain moist like this so we are safe here.
Sustainable for next year.
Did you know you can buy a lot of handmade photo props (especially on Etsy)? Try to search thing that could be used for several years! Think of fake hot chocolates, Christmas cookies. Etc.
We chose to buy real cookies partly for photography and partly it’s a good excuses to treat ourselfs to some delicious cookies after the hard work.
Due to a little break after some busy months there could be a small delay on shipping your order. No worries, we’ll still try to ship your order as soon as possible! From February 17th all delivery times will be back to normal again.